








021 Ring Cards
Card ad anello con profondità e gradiente fluido
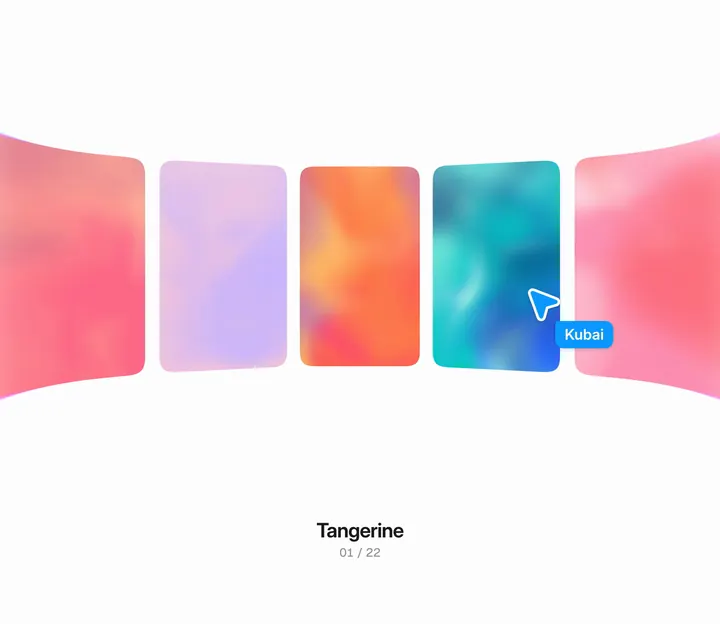
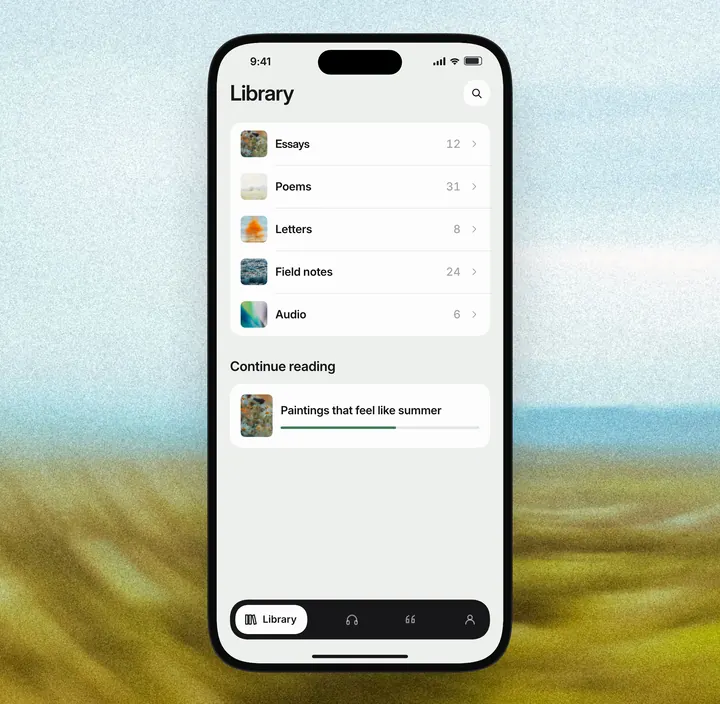
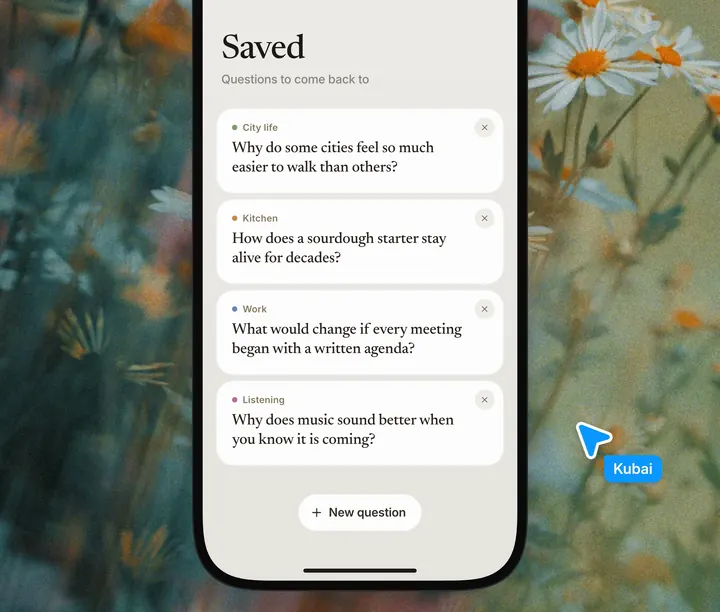
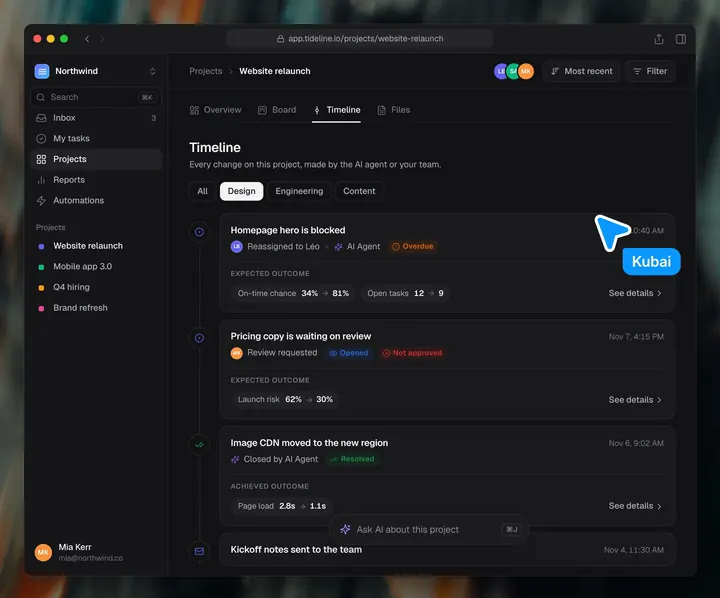
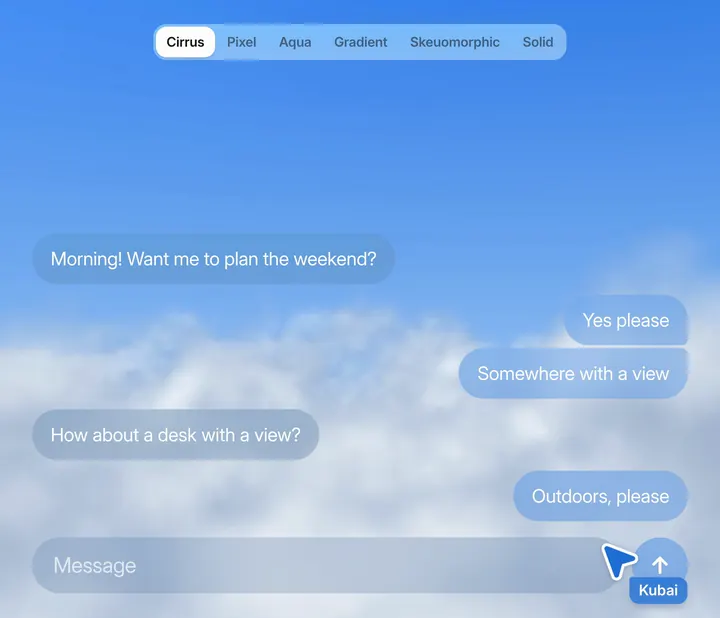
Un insieme di card disposte ad anello: viste dall’interno, i bordi passano sotto un vetro con dispersione di colore; viste dall’esterno, hanno profondità di campo; e portano un gradiente fluido in movimento.
Un carosello di card comune è solo una fila che scorre a destra e a sinistra. Disponendo la stessa fila su un anello, le card acquistano distanza: dall’interno, quelle ai lati circondano chi guarda; dall’esterno, il centro è nitido e ciò che è lontano si sfoca. I punti chiave:
- Due viste: le card seguono un unico arco. Con curvatura positiva si sta dentro l’anello, con curvatura negativa fuori. Cambiando vista, la curvatura varia in modo continuo e l’intera fila si piega con morbidezza da un anello all’altro.
- Dentro: per contenuti da sfogliare con calma, come portfolio e gallerie. Si sta poco dietro il centro dell’anello, prospettiva 860px; le card ai lati sono più vicine e più grandi, e cinque stanno sullo schermo.
- Bordo di vetro: una fascia di vetro di 160px su ogni lato dello schermo. Più ci si avvicina al bordo esterno, più l’immagine viene presa verso il centro, così i bordi superiore e inferiore delle card si aprono verso l’esterno; il rosso si sposta più del blu, con una dispersione di colore morbida.
- Fuori e profondità di campo: per guardare una cosa alla volta, come quando si sceglie una copertina. L’anello si vede all’altezza degli occhi, prospettiva 1500px; il centro resta nitido, i lati e la fila in fondo si sfocano e sbiadiscono. La sfocatura è calcolata pixel per pixel, quindi nulla tremola durante la rotazione.
- Gradiente fluido e rotazione: il fronte di ogni card è un gradiente fluido di quattro colori che scorre lento in cerchio e si ripete senza stacchi. Passando alla vista esterna, le card si girano una dopo l’altra, dal centro verso i lati, e mostrano l’immagine sul retro.
Inoltre, le card non hanno ombre né riflessi, che sul fondo bianco sembrano sporchi; la distanza viene solo da dimensione, sfocatura e sbiadimento. Con «Riduci movimento» attivo, i gradienti smettono di scorrere e la vista cambia subito.
Parametri
- Card
- 180 × 300px, distanti 18px, 22 in tutto; raggio dell’anello circa 693px
- Dentro
- prospettiva 860px; bordo di vetro 160px, spostamento 0,4 volte la sua larghezza, esponente di attenuazione 2,4; dispersione 25%
- Fuori
- prospettiva 1500px; la sfocatura inizia a 110px dal centro, fino a 14px; fila in fondo sbiadita del 50%
- Fluido
- 4 colori, 3 strati di rumore deformati due volte; scorre di 0,2 celle di rumore al secondo
- Angoli
- angoli continui, superellipse(2), 32px
- Cambio
- vista 1100ms; rotazione 1800ms, dal centro verso i lati
Il prompt abbinato chiede prima dove va, cosa mostrano le card, in quale vista si apre e chi vede il pannello delle impostazioni; dopo la conferma costruisce l’effetto con i valori del video, con un pannello di cursori per regolarli in tempo reale.
Build a ring of cards in my project, in two views. Inside: the viewer stands in the middle of the ring, the cards near the edges come closer and grow, and they pass under a rim of glass at each side of the frame that bends them and splits their colors. Outside: the ring is seen at eye level from outside, the front card is in focus, the sides and the far side soften with distance, and switching to it turns the cards over, one after another, from flowing gradients to pictures. Every card's gradient flows slowly. A settings panel shows the key numbers as sliders, set to the defaults below, so they can be tuned live.

Every value here comes from a working demo and is the default, not a requirement. Build it with these values first, then let me tune them with the panel (section 8).

Before building, look at my project (section 0) and ask me these, one at a time, with the recommended answer marked:
1. Where it goes: its own page or section (recommended), or a component I name.
2. What the cards hold: flowing gradients on the front and my pictures on the back (recommended; tell me where the pictures come from), gradients only, or pictures only (then skip the turn-over and show the pictures in both views).
3. The view it opens in: Inside (recommended) or Outside, and whether people can switch (a two-option segmented control, recommended).
4. The settings panel: shown to everyone, shown only in development, or hidden behind a toggle.
Then sum up my answers, say how you will build it on my platform (section 9), and wait for my go-ahead.

0. Start from what exists
- Find how the project draws (DOM, canvas or WebGL, a native view tree, a GPU renderer), its framework and versions, where the pictures live, its slider or form components, and whether it has a dark mode and a reduced-motion setting.
- Tell me in a few lines what you found before asking.

1. The ring
- N cards of w x h, a gap between them, one step = w + gap apart along an arc. Default: N = 22, 180 x 300, gap 18, so step 198 and radius R = N * step / (2 * PI) ≈ 693. The ring's circumference is exactly the row, so it closes on itself.
- Each card i sits at s = wrap(i * step - offset) along the arc, wrapped into [-N * step / 2, N * step / 2). offset is how far the row has moved; the front card is round(offset / step) mod N.
- One signed curvature c = bend / R places every card: for c = 0, x = s, z = 0, a = 0; otherwise a = s * c, x = sin(a) / c, z = (1 - cos(a)) / c. x runs across, z toward the viewer, and the card turns by a about its upright middle. bend = 1 is Inside (the ring curves toward the viewer), bend = -1 is Outside.
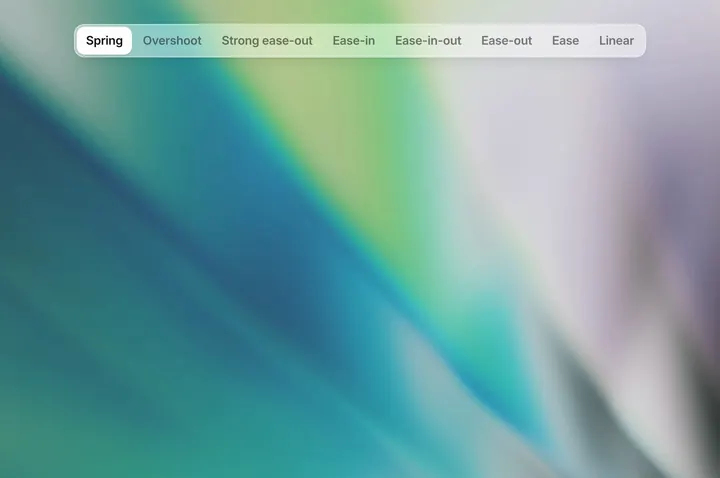
- Switching views eases bend from one to the other over 1100ms with cubic-bezier(0.65, 0, 0.35, 1), so the row visibly bends from one ring into the other.

2. The camera
- Perspective P is the eye's distance from the front card: P = mix(pIn, pOut, (1 - bend) / 2), so it moves with the switch. Defaults: pIn 860 (a little behind the ring's center, so the row curves without pulling the side cards too far; at P = R the eye is exactly at the center), pOut 1500 (well back, so the ring turns away gently).
- The eye looks straight on, at the cards' middle height. A point (x, y, z) lands on screen at x * P / (P - z), y * P / (P - z), from the frame's center.
- Leave out a card when any part of it is less than 140 units in front of the eye, or when it is wholly off the frame.
- Inside, the 22-card ring at pIn 860 shows five cards: three whole, the outer two going into the glass. Outside it shows the whole ring, the far side between and beyond the near cards.

3. The card face
- Corners: a continuous curve, a superellipse of exponent 4 over a 32px radius, the same curve as CSS corner-shape: superellipse(2). In a shader, the distance to the outline is: d = abs(p) - (w, h) / 2 + r; m = max(d, 0); dist = (m.x^4 + m.y^4)^(1/4) + min(max(d.x, d.y), 0) - r.
- Front: a flowing gradient of four colors (section 4). Back: a picture, shown mirrored so it reads the right way round when the card is turned.
- No shadow, no reflection, no darkening as cards turn away: on a white page they only look dirty. Depth comes from size, blur and fade (section 6).
- Pressing a card shrinks it to 0.95 in 140ms and back in 320ms, about its middle.

4. The fluid gradient
- Value noise in fBm, 3 octaves; after each octave turn the point by the matrix (0.8, -0.6; 0.6, 0.8), scale it by 2.02, add (1.7, 9.2), and halve the amplitude.
- With p the point on the card in pixels from its middle: uv = p / w * 0.9 + seed (seed = i * 3.7 + 0.43, so every card differs).
- The flow moves the field around a circle: o1 = rho * (cos(phi), sin(phi)), o2 = rho * (cos(phi + 2.1), sin(phi + 2.1)). phi grows with time so the field moves 0.2 noise cells a second (the Flow slider, 20%); rho is the circle's radius. Because the field comes back to where it began, a recording or a loop never jumps. In the demo one turn takes the length of the animation loop (17.07s).
- Warp it twice: w1 = (fbm(uv + o1), fbm(uv + (5.2, 1.3) - o1)); w2 = (fbm(uv + 1.5 * w1 + (1.7, 9.2) + o2), fbm(uv + 1.5 * w1 + (8.3, 2.8) - o2)); f = fbm(uv * 0.9 + 1.7 * w2).
- Color: mix(c0, c1, smoothstep(0.3, 0.7, f)), then toward c2 by smoothstep(0.42, 0.72, w2.x) * 0.9, then toward c3 by smoothstep(0.5, 0.8, w1.y) * 0.7; a soft light across the top (toward white by smoothstep(0.1, -0.6, y / h) * 0.12); film grain of ±1.75% that fades out under blur.
- Palettes, four colors each, one per card, for example: Tangerine #ff7a3d #ff3d77 #ffc46b #7a2cff; Lagoon #00c2c7 #2f6bff #9ff3e0 #0b2a6f; Peony #ff8fb1 #ffd1dc #b84dff #ff5a5f; Citrus #ffe14d #7ee081 #ff9f1c #2ec4b6; Iris #6a5cff #b18cff #ff7ad9 #1b1464; Aurora #2af598 #009efd #b3ffab #12123a. Or derive them from my brand colors and show me.

5. Inside: the glass rim
- Draw the cards into a texture first, then lay it on screen in a second pass. Along each side of the frame is a band of glass, rim = 160px wide.
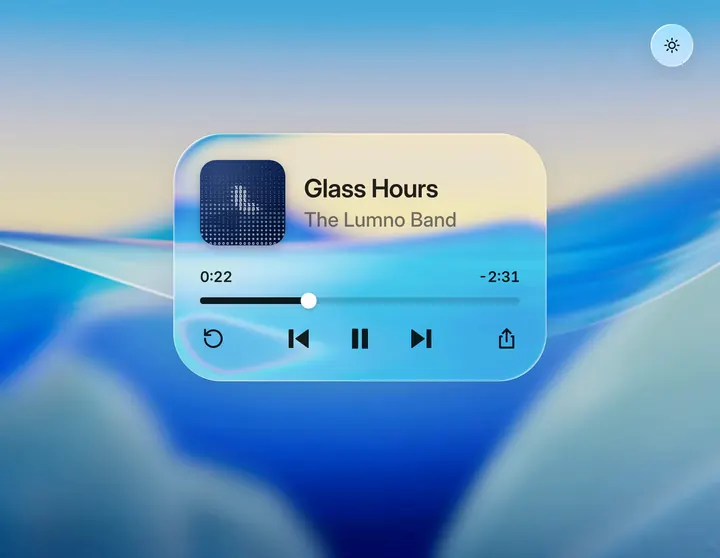
- A pixel at distance d from its side (d < rim) shows the picture from further in: k = (1 - d / rim)^2.4, and the offset is 0.4 * rim * k across, toward the middle, along the line toward the eye point (so it also moves toward the eye's height). The cards' top and bottom edges flare out under the glass, and the flare grows smoothly from nothing at the band's inner side.
- Keep 0.4 * 2.4 under 1: the band then squeezes the picture toward the edge but never folds it back on itself. A fold repeats a card, or a gap between cards, inside the glass.
- Dispersion: take the offset at seven strengths, red bending furthest and blue least: for t = i / 6, i = 0..6, the offset times 1 + spread * (1 - 2t), with spread = 0.25 * k (the Dispersion slider, 25%). Weight each sample by w(t) = clamp((1.5 - 3t, 1 - 1.5 * |2t - 1|, 3t - 1.5), 0, 1) and divide by the summed weights, so the fringe runs smoothly through the colors.
- A faint light along the glass: toward white by k^3 * 0.12.
- The rim belongs to Inside only: it fades out as bend goes to 0, and a 0 rim switches it off.

6. Outside: depth of field
- Blur b, in screen pixels, is the larger of two: across the frame, blur * smoothstep(110, half the frame's width, |screen x|)^1.4, so the middle 220px stays sharp and the blur grows smoothly toward the sides; and with distance, blur * smoothstep(0.25, 0.8, back)^1.2, where back = -z / (2R) goes from 0 at the front card to 1 at the far side. Default blur 14px.
- Work the blur out per pixel, never with a backdrop blur over moving content (it shimmers). For a card, take its coverage as a box blur in screen pixels, separately across and up: across = clamp((min(dl, b) + min(dr, b)) / (2b), 0, 1), where dl and dr are the screen distances to the card's left and right sides; the same for up and down; alpha = smoothstep(across) * smoothstep(down), capped by the corners softened by the same b. A card narrower than the blur never reaches full cover and fades, as a real blur would.
- Draw each card with a margin of (the largest blur + 4) screen pixels around it, so a blurred edge always has room, however steeply the card is turned.
- Blur the content too: fade out the noise octaves finer than the blur, and read the pictures from a smaller mipmap level, log2(max(1, b * texels per screen pixel)).
- The far side fades toward the page: toward white by fade * smoothstep(0.3, 1, back). Default fade 50%.

7. Turning over, and motion
- Switching to Outside turns every card over about its upright middle, one after another from the front card out: for the whole run flip going 0 to 1 over 1800ms with cubic-bezier(0.3, 0, 0.6, 1), each card's lag = min(|s| / (6 * step), 1) and its turn = PI * smoothstep(0, 1, flip * 1.55 - lag * 0.55). The front half ends showing pictures and the far half its gradients. Switching back turns them back.
- Drag: the row follows the pointer one pixel for one pixel. On release it glides on with the release speed (target = offset - velocity * 260ms), snaps to the nearest card, and takes clamp(|distance| * 1.6, 420, 1100) ms with cubic-bezier(0.25, 0.6, 0.2, 1). Pressing a card brings it to the front in 760ms.
- A hard flick, fast then slow (used to open Inside): 16 cards in 2800ms with cubic-bezier(0.4, 0, 0.12, 1). It picks up speed in a moment rather than jumping to full speed, so a loop that begins with it has no jolt.
- Any new motion stops the one before it. Reduced motion: no flow, an instant switch, slides of 200ms at most.

8. The settings panel
- One row per number: its name, a slider and its value with the unit. The rows change with the view. Moving a slider updates the picture at once and stops any demo animation. A reset puts every value back to its default.
- Inside: Perspective 860px (600 to 1400), Glass rim 160px (0 to 240), Dispersion 25% (0 to 60), Flow 20% (0 to 60), Corner 32px (0 to 60).
- Outside: Perspective 1500px (900 to 2400), Depth blur 14px (0 to 30), Far fade 50% (0 to 100), Flow 20%, Corner 32px.
- Use my slider component if I have one; otherwise a plain range input with a filled track, an upright handle and a number box beside it.
- Changing Flow adds to the flow's angle each frame instead of multiplying time, so the gradients never jump.

9. How to build it, by platform
These are suggestions; check them against my stack and versions.
- Web (as in the demo): WebGL 2, two passes. Each card is one strip of upright columns (96 across, plus one past each side for the margin) placed in the vertex shader; upright lines stay straight under the perspective, so a top and a bottom point per column are enough. The pictures go in one texture array with mipmaps. Draw the cards farthest first with premultiplied alpha into a texture, then the glass pass to the screen. Run one requestAnimationFrame loop; at 2x pixel density it holds 60 fps on a laptop.
- iOS: Metal (MTKView) with the same two passes, or SwiftUI with a Metal [[stitchable]] layerEffect for the glass pass and visualEffect for the cards.
- Android: OpenGL ES 3 or Vulkan; on API 33+ an AGSL RuntimeShader can draw the gradient and the glass pass in Compose.
- Flutter: FragmentProgram shaders for the gradient and the glass pass, the cards in a CustomPainter with drawVertices.
- If the platform has no GPU path: CSS 3D transforms can place the cards (preserve-3d, the same x, z and a), with CSS gradients standing in for the fluid; leave out the glass pass and use a few stepped blur layers per card instead of the per-pixel blur.

10. Check
- Inside: the outer cards flare smoothly in the glass with a soft color fringe, no fold, no repeated card; five cards in view.
- Outside: reads as a ring at eye level; the middle is sharp, the blur grows smoothly to the sides and the far side, with no shimmer while the ring turns and no hard edge on a steeply turned card.
- The turn-over runs from the middle out; the pictures read the right way round; the far side shows gradients.
- Every slider changes the picture at once, the values match section 8, and reset restores them.
- 60 fps on a mid-range phone; reduced motion, light and dark pages, and keyboard use of the panel all checked.