


008 Wiki Layout
Un layout wiki per desktop e mobile
Come organizzare barra di navigazione, indice, rimandi a fine articolo, footer e cambio di sezione su mobile in wiki e centri assistenza.
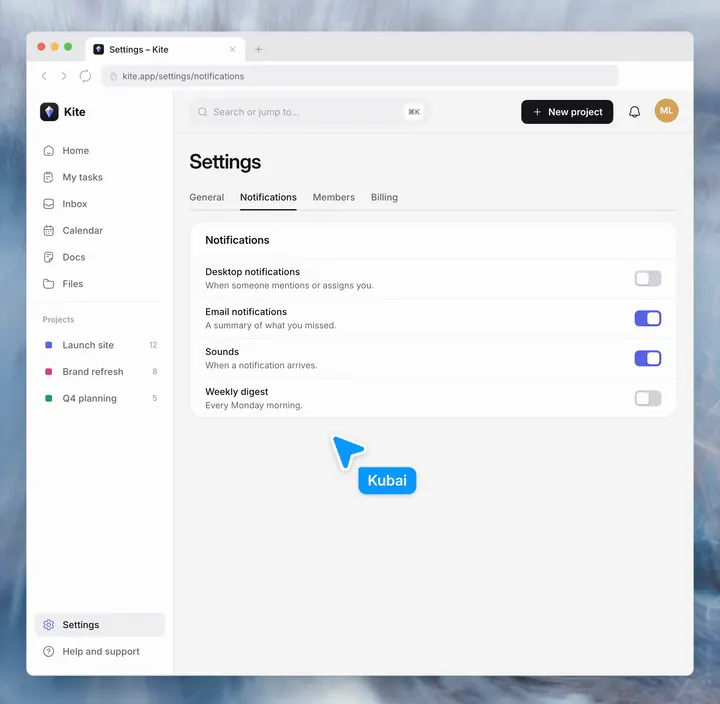
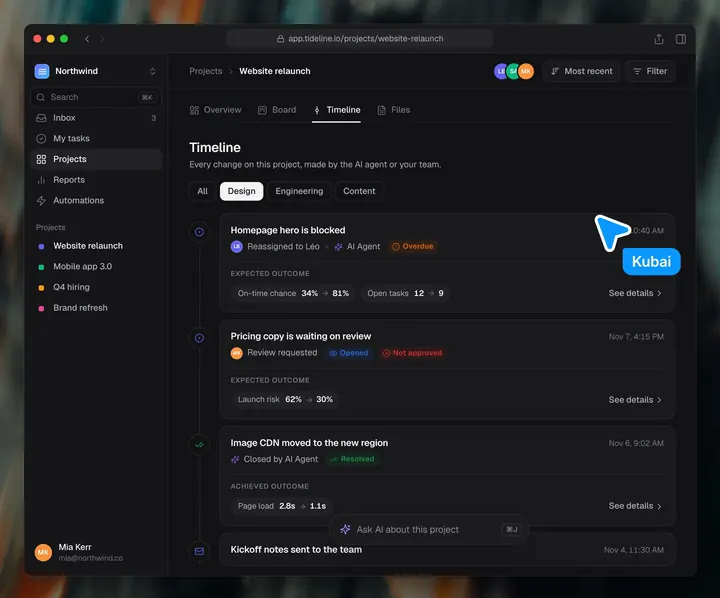
Quando un prodotto diventa complesso e il sito deve pubblicare molti articoli per la SEO, una wiki ben fatta risponde alle domande degli utenti e porta anche traffico dalla ricerca. I problemi più comuni sono non trovare l’indice sul telefono e non sapere dove andare dopo aver letto un articolo; nel layout bisogna curare questi cinque punti:
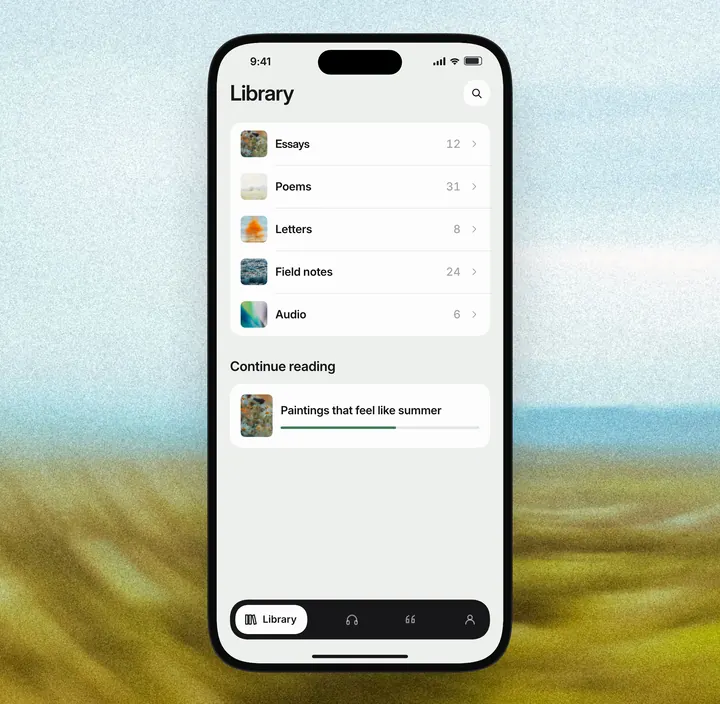
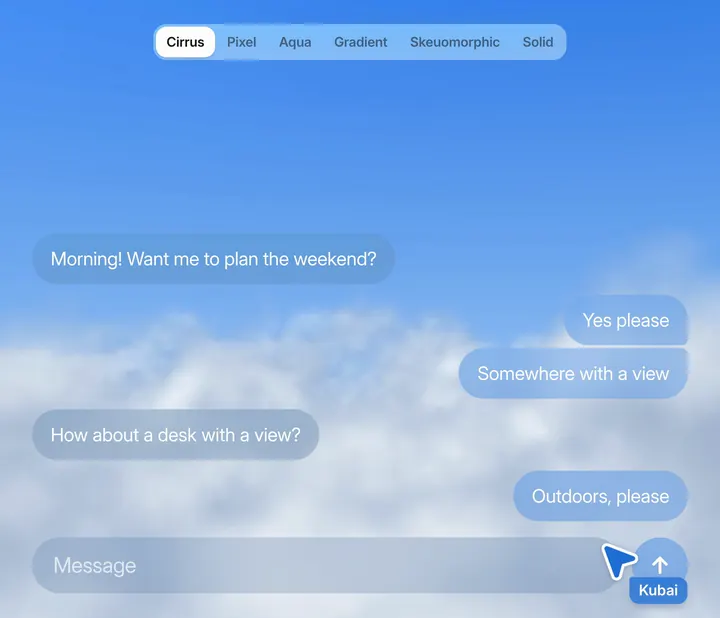
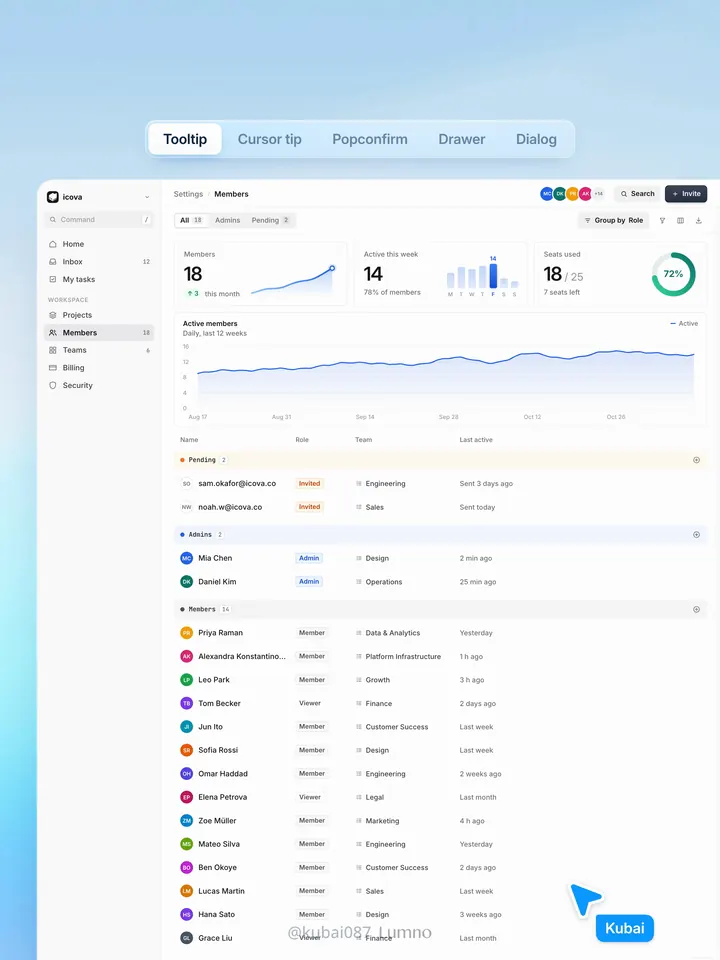
- Barra delle sezioni su mobile: i telefoni sono per lo più non pieghevoli, con schermi stretti in cui un indice laterale non entra. In basso resta sempre una barra delle sezioni che, toccata, apre un menu a schermo intero con tutte le sezioni, una per riga, facili da toccare, senza dover tornare in cima alla pagina.
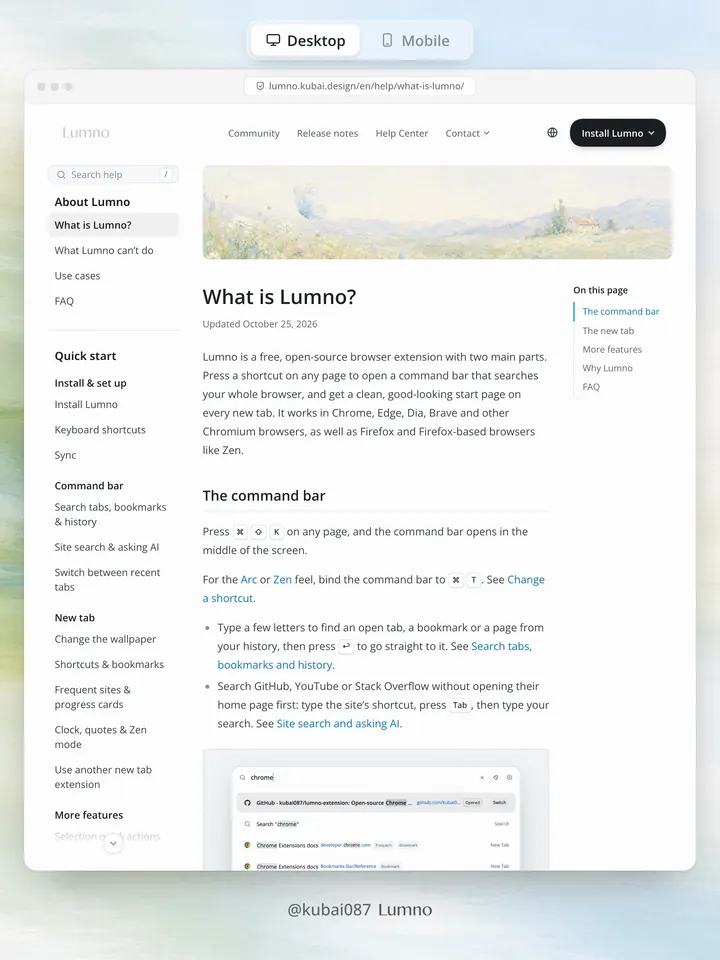
- Indice: quando le sezioni sono molte e superano un’altezza di schermo, l’indice ha un’altezza propria, scorre separato dal testo e viene tagliato in alto e in basso. Sui bordi tagliati una sfumatura indica che c’è altro sopra e sotto, insieme a un pulsante freccia centrato su cui fare clic per scorrere.
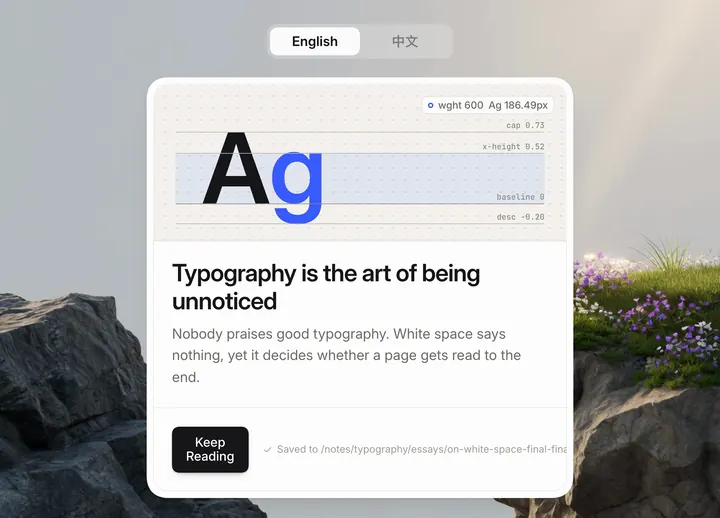
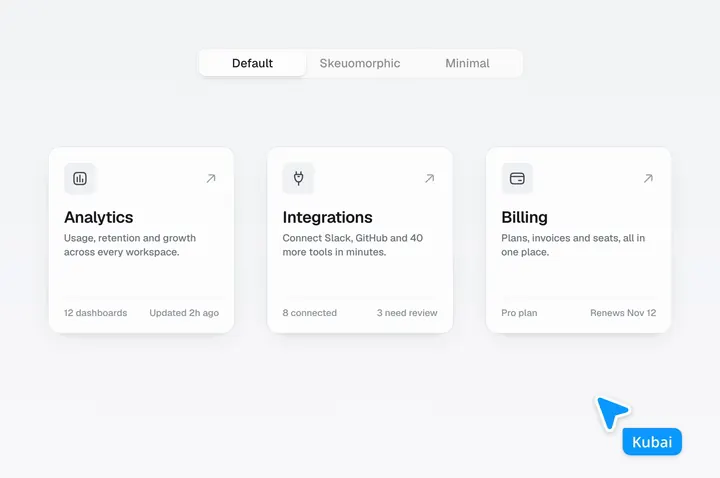
- Rimandi a fine articolo: sotto gli articoli che rispondono a una domanda si mettono i link alla community e agli account social; che a leggere sia una persona o un’AI, portano conversioni, come un annuncio contestuale gratuito per i tuoi obiettivi di conversione. Lo stile delle card è vicino ai componenti del testo, così sembrano parte dell’articolo.
- Footer: una bella immagine di sfondo rende il footer alto più di mezzo schermo, per invogliare chi legge ad arrivare in fondo e restarci. Nel footer va messo qualcosa di davvero utile, che aiuti a risolvere un problema; altrimenti risulta solo fastidioso.
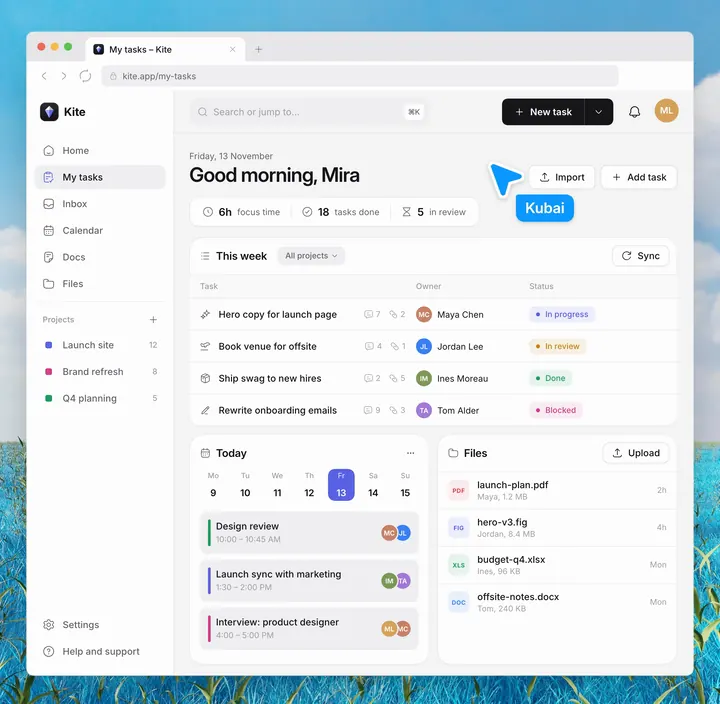
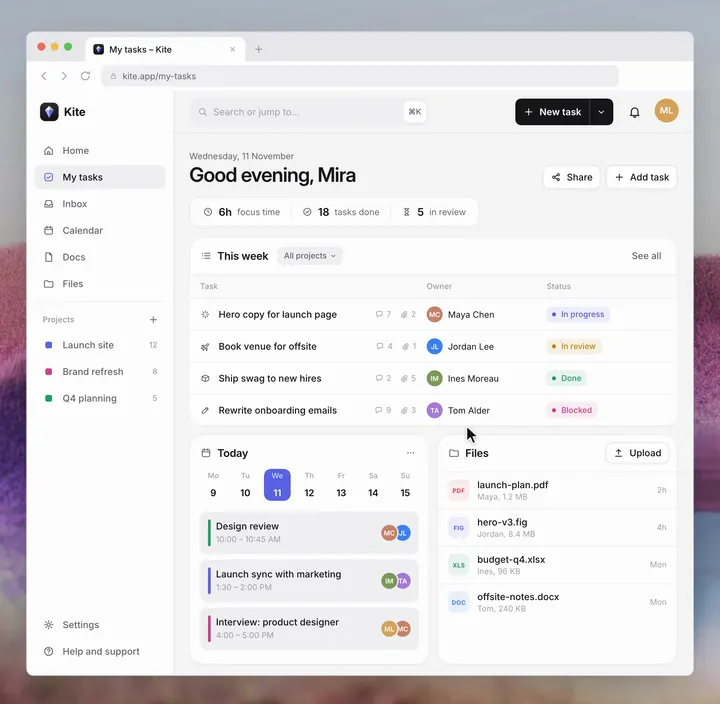
- Barra di navigazione: logo (per tornare al sito), menu a discesa per le pagine principali e il pulsante CTA principale; resta fissata in alto durante lo scorrimento. Safari e altri browser colorano la barra degli indirizzi in base al colore della barra di navigazione, quindi lo sfondo deve accordarsi con il brand.
Il prompt abbinato trova il layout condiviso dalle pagine della documentazione e cambia solo posizione, scorrimento e comportamento responsive di barra di navigazione, indice, struttura dell’articolo e area di fine articolo, lasciando invariati contenuti, testi, colori e font; alla fine cattura una schermata in cima, a metà e in fondo alla pagina e una alla larghezza di un telefono, perché tu possa controllare.
Polish the layout of my docs or help center pages: the header, the page list, the outline and the end of each article. Keep the content, copy, colours and fonts. Change only how these parts sit, scroll and respond.

0. Start from what exists
- Find the shared docs layout, the site header, the page list (sidebar), the outline (table of contents) and the footer. Change those, so every page inherits the result.
- Use CSS and a little plain JS. Add no scroll or animation libraries.

1. Think of the page as three layers
- The article and the footer scroll with the page.
- The page list and the outline are position: sticky. They stop where they start, so they never jump when scrolling begins, and the end of the layout pushes them up at the bottom.
- The header becomes position: fixed only after the page's opening (banner or hero) has left the screen. Before that it belongs to the page and scrolls away with it.

2. Header: it scrolls away, then comes back floating
- At the top it is clear, with no background.
- Once the reader has scrolled and the banner's bottom edge is at or above the top of the screen (getBoundingClientRect().bottom <= 0), show it as a floating bar: position: fixed; a translucent white background; backdrop-filter: blur(18px); a soft shadow.
- It enters in 320ms ease-out, from translateY(-24px) with blur(8px) and opacity 0. It leaves in 120ms when the reader scrolls back up to the banner. If the reader scrolls down again during the exit, cancel it and keep the bar.
- Give headings a scroll-margin-top so anchor links never land under the bar.

3. Page list: it scrolls on its own, and shows where there is more
- Hide its scrollbar and let it scroll by itself.
- Fade an edge only while more of the list waits beyond it. Toggle data-more-above and data-more-below on scroll and resize, and drive a mask-image: linear-gradient(...) with them: about 40px at the top and 56px at the bottom, each with a short fully clear strip at the very edge, so a half-cut row never shows as a faint line.
- Add a small round arrow on each edge that has more. A click scrolls the list by 60% of its visible height, smoothly. Arrows are for the mouse only (tabindex="-1", aria-hidden="true"); keyboard focus already scrolls the list.
- On load, bring the current page into view. Keep the list's scroll position in sessionStorage, so moving to another page does not reset it.
- If there is a search box, let "/" focus it.

4. Outline: mark the section being read
- The current section is the last heading above a line 20% down the viewport.
- Mark its link with aria-current="location" and style that: border-left-color and text in the accent colour.
- Update it on scroll, at most once per animation frame.

5. End of the article: help first, then the next page
- If the reader is still stuck, a "Still need help?" card with one or two real channels (the issue tracker, the community, a contact).
- Then previous and next links, with each page's title. The first page links back to the home page.
- Then the footer.

6. Narrow screens
- Hide the outline on tablets and the page list on phones. Put both in one bar fixed at the bottom: the page list on its left half, the outline on its right half.
- The right half shows the name of the section being read, updated by the same 20% line, and truncated with an ellipsis when it is long.
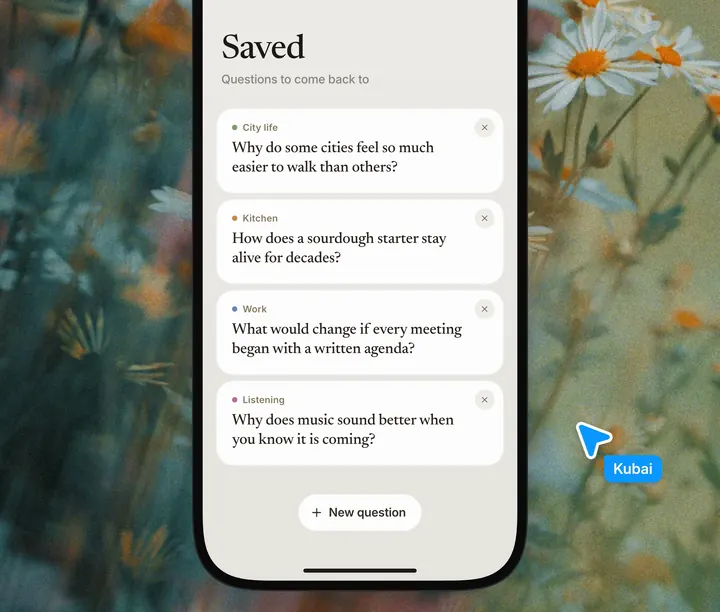
- A tap on either half opens its list as a sheet from the bottom edge (a dialog opened with showModal()), sliding up 24px as it fades in, with no dimming behind it. Mark the current entry and scroll it into view (scrollIntoView({ block: "center" })).
- A tap on an entry, the close button, outside the sheet or Esc closes it; a section link then scrolls to its heading.
- Make the tap targets one size up from the desktop list.

7. Motion
- Under prefers-reduced-motion: reduce, turn off smooth scrolling and the header's enter and exit animations.

8. When done
- List every file and selector you changed.
- Check four states on my own pages: the top of a page, the middle, the end, and a phone-width window.
- Show a screenshot of each.