



010 Liquid Glass
Sıvı cam
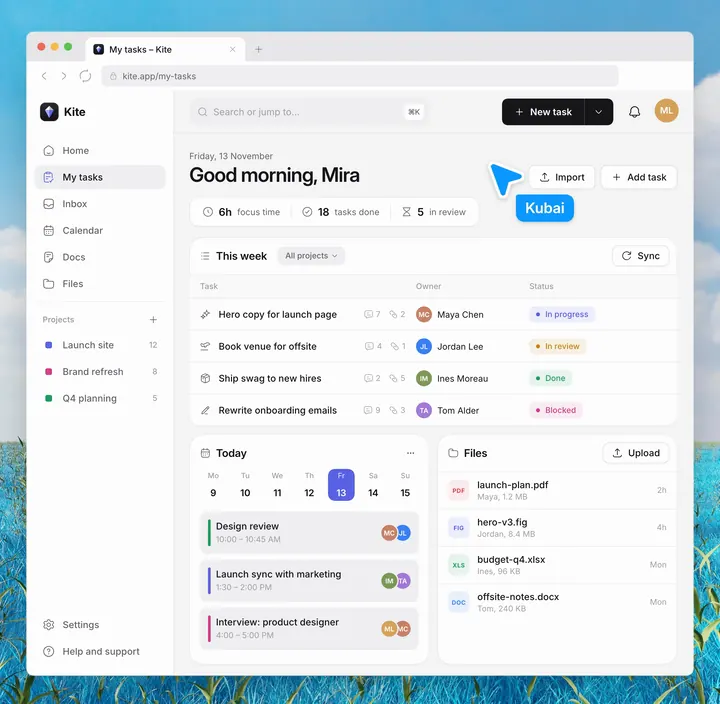
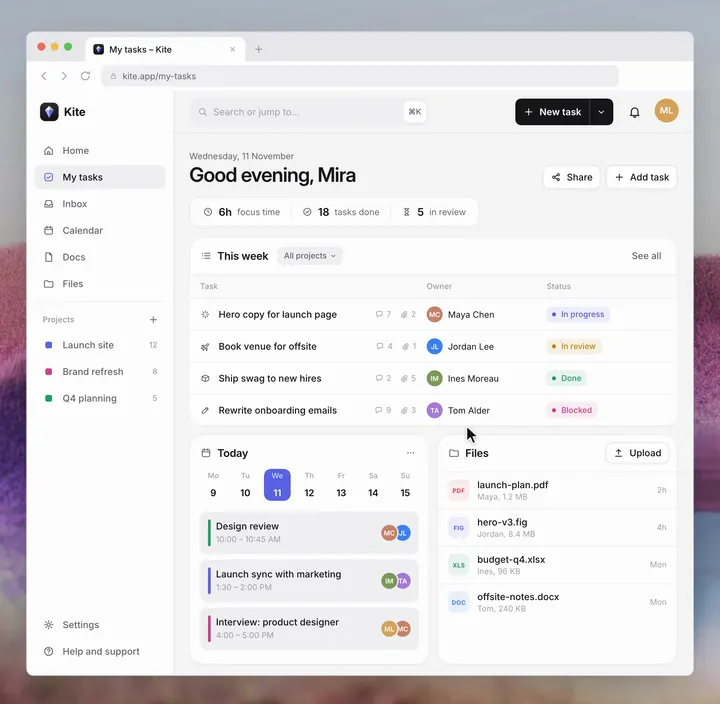
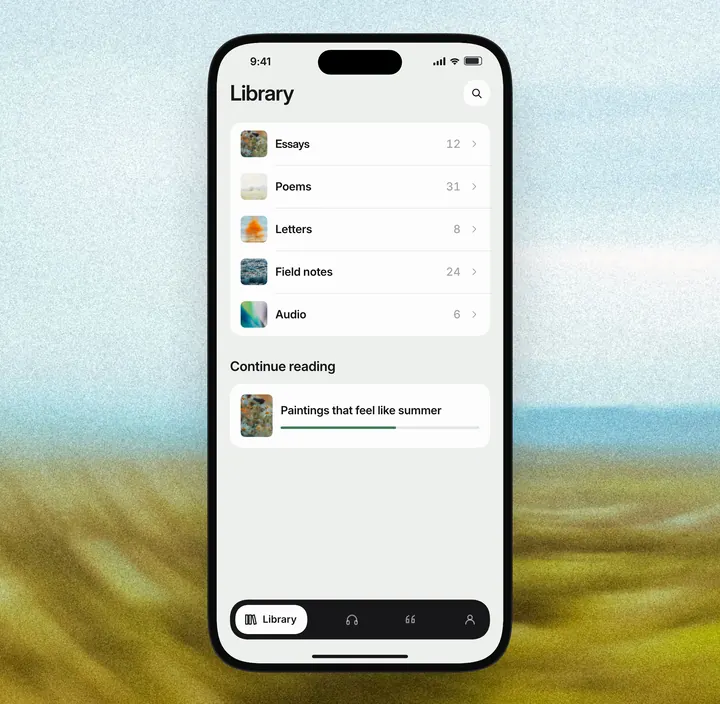
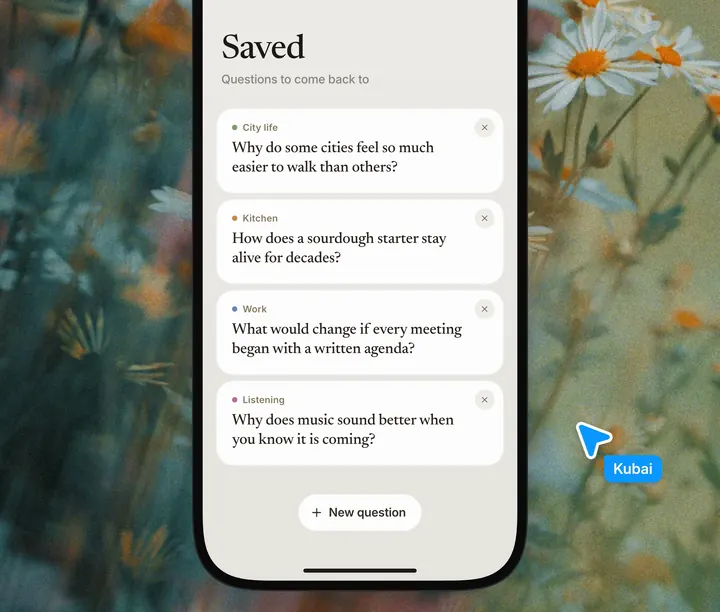
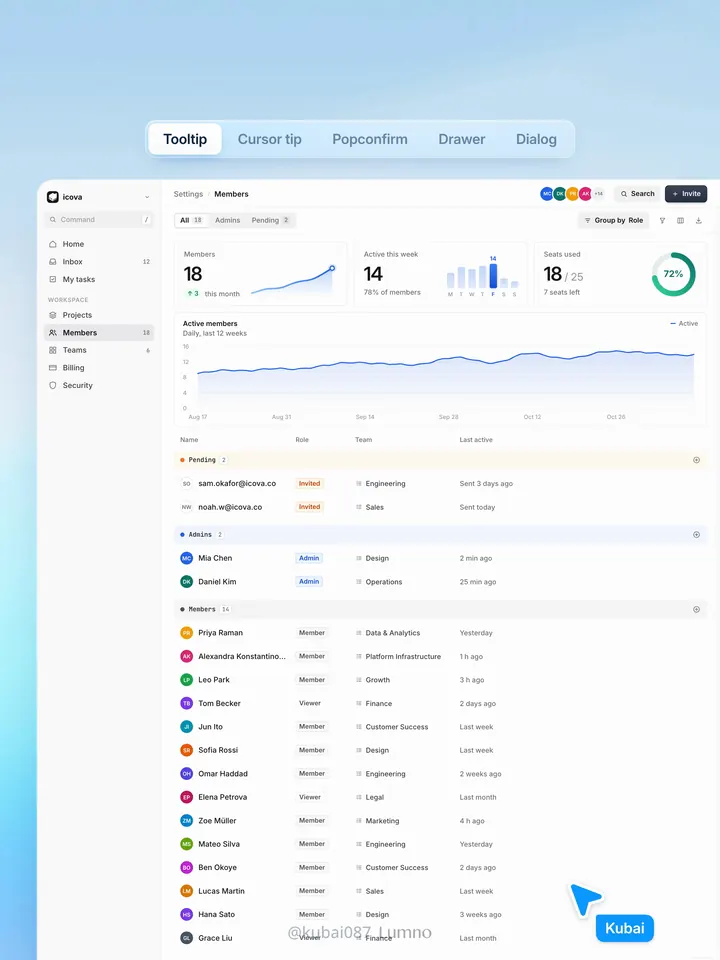
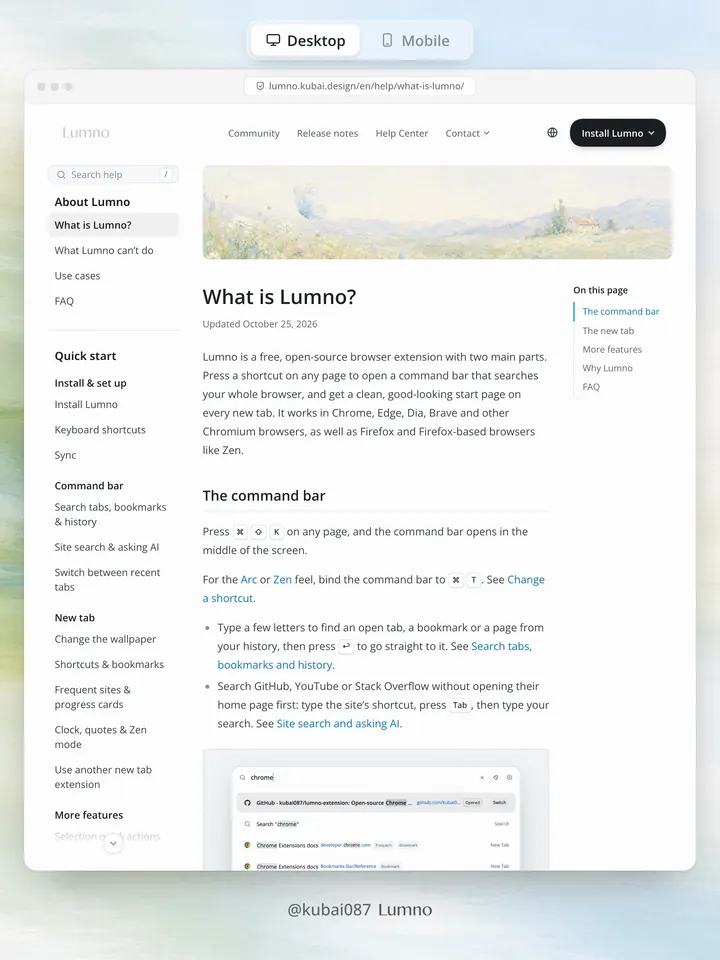
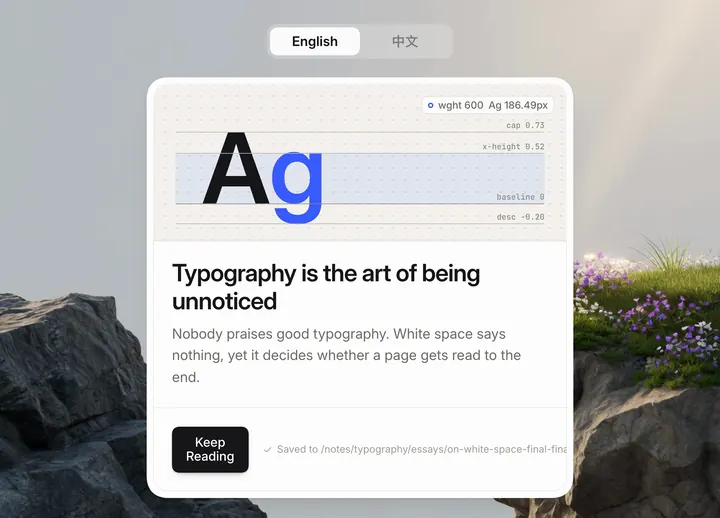
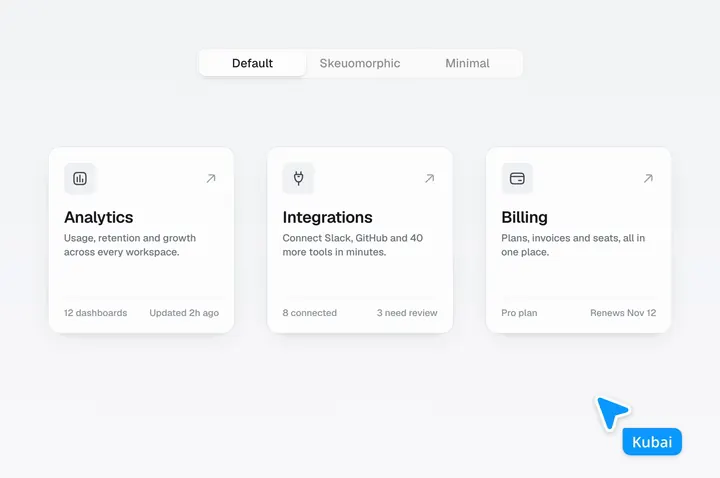
Sıvı cam malzemesinin altı katmanı ve renk tonu ile metin renginin arka plana göre ayarlanması; görsel ya da video üzerindeki kartlar ve oynatıcılar için.
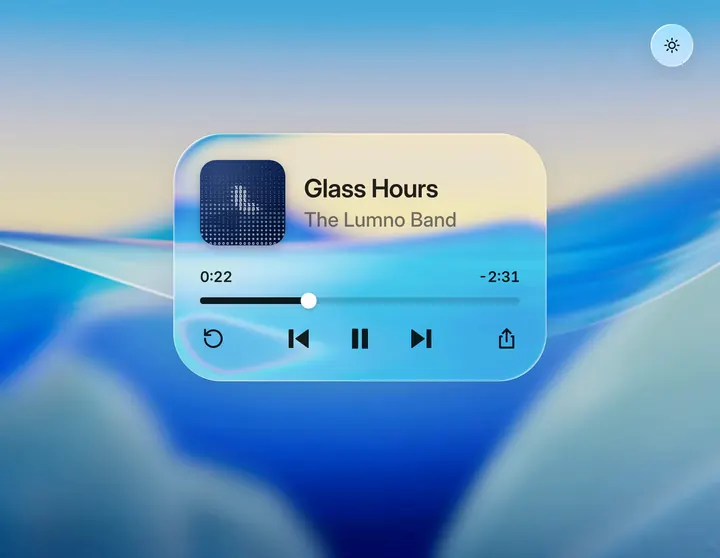
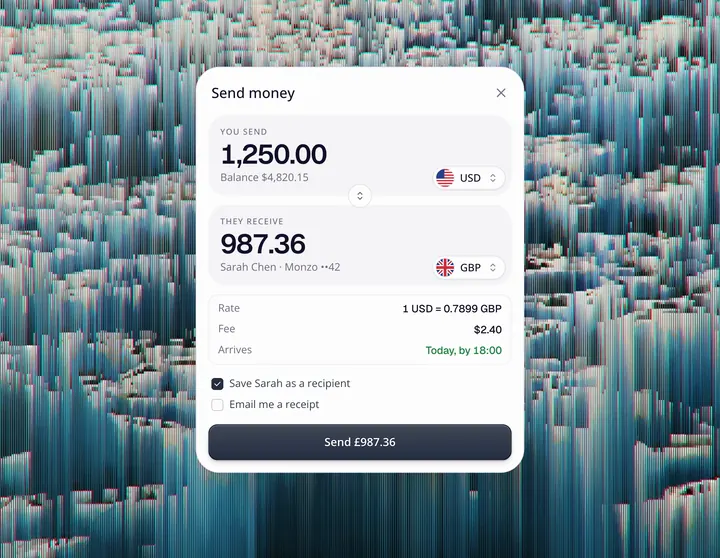
Sıradan buzlu cam yalnızca yarı saydam bir arka plan ve bulanıklıktan oluşur; arka plan karmaşık olduğunda metin zor okunur, koyu zeminlerde de grileşir. Sıvı cam kenar kırılması ve arka plana göre değişen bir renk tonu ekler; kalınlığı varmış gibi görünür ve metin her zaman net kalır. Bu malzeme Lumno geliştirilirken araştırıldı ve aşağıdan yukarıya şu altı katmandan oluşur:
- Gölge: kartın hacmini gösterir.
- Bulanıklık ve parlatma: arka planı bulanıklaştırır, aynı zamanda doygunluğunu ve parlaklığını artırır; cam daha berrak görünür. Açık camda doygunluk %180, parlaklık 1.06; koyu camda doygunluk %160, parlaklık 0.8.
- Kenar kırılması: bir SVG yer değiştirme haritası kenar çevresindeki şeritte arka planı içe doğru kaydırır; kenara yaklaştıkça kayma artar, orta kısım düz kalır. Kırmızı ışık maviden biraz daha fazla kırılır ve renk ayrışması oluşur. Kenar genişliği 44px, renk ayrışması ±%15.
- Renk tonu: yarı saydam bir renk katmanıdır; opaklığı arka planın karmaşıklığına göre otomatik ayarlanır. Arka plan ne kadar karmaşıksa ton o kadar yoğun olur ve metin o kadar kolay okunur. Açık camda beyaz %6–%22, koyu camda %16–%38.
- Kenar ışığı: sol üstte ve sağ altta birer çizgi, biraz içeride de bir çizgi daha; bütün daha kalın görünür.
- Metin rengi: açık camda multiply, koyu camda plus-lighter karışım modu kullanılır; metin arka planın renginden biraz taşır.
Ayrıca malzeme arka plandaki birkaç örnek noktayı okuyup ortalama parlaklığı hesaplar; değer 0.5’in altındaysa otomatik olarak açık renge geçer. Sıvı cam kapaklar, videolar ve duvar kâğıtları gibi açıklığı ya da rengi çok değişen görüntülerin üzerine uygundur; düz renkli bir arka planda sıradan yarı saydam bir renk bloğundan neredeyse farkı yoktur. Metni kontrol ederken arka planın hem en parlak hem en koyu yerlerine bakın.
Parametreler
- Açık
- Renk tonu beyaz %6–%22; bulanıklık 2px; doygunluk %180; parlaklık 1.06
- Koyu
- Renk tonu rgb(20 20 24) %16–%38; bulanıklık 2px; doygunluk %160; parlaklık 0.8
- Kırılma
- Kenar genişliği 44px; kenardaki kayma 1.1 × kenar genişliği; renk ayrımı ±%15
Yazar bu malzemeyi açık kaynaklı bir araç olarak yayımladı: Glasswork. Renk tonu, bulanıklık, kenar kırılması, kenar ışığı ve yazı rengi bir panelden tek tek ayarlanıp farklı duvar kâğıtları, fotoğraflar ve videolar üzerinde denenebilir; sonuç doğrudan CSS olarak kopyalanabilir.
Ekteki Prompt önce üründe görsel, video ya da karmaşık arka planlar üzerinde duran kartları, oynatıcıları ve arama kutularını listeler, hangilerinin cama dönüşeceğini, hangilerinin aynı kalacağını açıklar; ardından malzemeyi renk token’larına yazar, açık ve koyu mod için ayrı ton yoğunlukları belirler, düzen değişmez.
Give the cards and panels in my product a liquid glass material: clear glass that takes its color from the scene behind it, reads as a thick slab at the rim, adapts to what is behind it, and keeps its text readable in light and dark mode. Work inside my existing design system. This is a change of surface, not of layout: keep my markup, spacing, radii, fonts, icons and copy.

0. Start from what exists
- Find every surface that sits over an image, a wallpaper, video or a busy background: cards, players, search bars, toolbars, menus, popovers, toasts. List them with their component and where they are.
- Find how the product switches between light and dark mode, and where its color tokens live. The glass goes into those tokens, not into each component.
- Leave surfaces over a plain background alone; glass over a flat color only looks gray.

1. The material as tokens
Build it as one set of variables per state, so a surface opts in by using them. The numbers are a starting point, for a UI at its normal size.
- Light glass, dark text (the default): tint white at 6–22% (by density, step 4); backdrop filter blur(2px) saturate(180%) brightness(1.06), so the color comes from behind and stays vivid instead of milky.
  Edge: inset 1.5px 1.5px 1px -1px white 95%, inset -1.5px -1.5px 1px -1px white 55%, inset 0 0 0 0.5px white 30%, 0 0 0 0.5px black 6%, 0 6px 24px black 8%.
  Inner light, on a layer inside the surface: a radial highlight from the top left (white 30% fading out by 55%), and soft inset glows just inside the rim, brighter at the top and left, a little shade at the bottom.
- Light mode over a dark area, light text: tint rgb(16 18 22) at 10–30%; filter blur(2px) saturate(170%), then brightness(0.85); edge: a faint inset white line on top and a 0.5px dark outline.
- Dark mode: tint rgb(20 20 24) at 16–38%; filter blur(2px) saturate(160%) brightness(0.8), which dims like a multiply with black instead of going muddy; the same edge and inner light at about a third of their strength, with a darker outline and shadow.
- Ink, one color in fixed steps, used for everything drawn on the glass:
  on light glass black 86% (titles, icons, times, progress), rgb(60 60 67) at 70% (secondary); mix-blend-mode multiply;
  on dark glass white 94%, rgb(235 235 245) at 64%; mix-blend-mode plus-lighter.
  Draw icons in the opaque color and fade the whole icon with opacity: a translucent color darkens where a shape's strokes and fills overlap.
- A highlighted row on light glass is a lighter layer of the glass: white 42% on hover, 76% when selected, with a white stroke. Never a gray wash.
- Register the numeric and color tokens with @property so a surface glides between states instead of jumping.

2. Apply it in four declarations
Each surface changes only these, and its markup stays as it is:
- background: the tint.
- backdrop-filter: the material's filter, then the rim lens (step 3) last, so the color steps fold into one pass and the bend stays crisp.
- box-shadow: the edge.
- color: the ink, with the blend mode on everything drawn inside.
Hover brightens the tint by about 14% instead of lifting a shadow.

3. The rim lens
- Build a displacement map for each surface: red is the sideways bend, green the vertical one, 128 is none. Only a rim bends; the middle stays flat.
- The rim is about 44px wide on a card (min(44px, the short side / 3.5), never under 4px). For a thick slab, a point d from the edge looks inward by 1.1 × rim × (1 - d / rim)^2.6: hard at the edge, where the scene folds back on itself, easing to nothing at the rim's inner edge.
- Draw the map for the same corner the CSS draws. If the surface uses corner-shape: superellipse(), follow that curve, not a circle, or the bend and the rim light miss each other at the corners.
- Put it in an SVG filter with feImage (the map) and feDisplacementMap (scale = 2 × the largest offset), and add url(#id) at the end of backdrop-filter.
- Split it into colors: three passes, red 15% further and blue 15% less, each kept to its channel with feColorMatrix and added back with screen blends. Check the corners of wide rims over busy backgrounds; lower the split where it turns into a haze.
- Only Chromium draws url() in backdrop-filter. Check CSS.supports('backdrop-filter', 'url(#a)') and skip Firefox, which parses it and draws nothing. Everywhere else the CSS-only glass stays.
- Wait for the map image to decode before pointing a surface at the filter, or it draws without its blur. Give every filter a unique id and its own <svg>. Build maps once per radius and rim width and reuse them; on resize, move the map, don't rebuild it.
- Skip the lens on surfaces under 32px, and on surfaces with will-change or their own compositing layer (menus, animated panels), where Chrome can draw the map instead of the bent backdrop.

4. Adapt to what is behind
- For each surface, sample the background under it at a 5 × 3 grid, drop the two darkest and two brightest points, and average. Luminance is (0.299 R + 0.587 G + 0.114 B) / 255; texture is the brightest point minus the darkest.
- Ink: in light mode, light text when the luminance is under 0.5. Keep the current ink within ±0.05 of the line so a surface never flickers at it. Dark mode is always light text. Neighbouring surfaces in one row share one decision.
- Density (0 thin, 1 dense) = 0.55 × how close the background is to the ink's own brightness + 0.7 × texture + 0.3 × chroma. It moves the tint between its thin and dense alpha.
- Saturation kept = 1 - 0.75 × chroma, at least 0.45, so a vivid background doesn't stain the glass.
- Sample again when the background, the theme or a surface's position changes, and remember the last ink so the next load opens in it.
- If the background is not an image you can read (live video, cross-origin content), pick the ink from the theme and use the dense tint.

5. Let people set the tint
- Add one setting for light mode and one for dark that scale the tint, from 0 to 1.5 (1 is the material as designed). Below 1 the brightness lift in the filter thins with it, so at 0 only the blur, the rim and the shadow are left.
- Each theme keeps its own value; switching themes glides to that theme's value.

6. Keep it accessible
- Check text contrast on the busiest and the darkest background the product allows, at the default tint; raise density, not the ink's opacity, until it passes.
- Respect prefers-reduced-transparency and forced colors: fall back to a solid surface in the same tint at full opacity.
- Keep focus rings, disabled states and error colors as they are; failures keep their red.

7. Deliver
- First list the surfaces you will change, which get the lens and the color split, and which you leave solid and why.
- Then add the tokens, the lens helper and the two settings, switch the surfaces over, and list every file you touched.
- Don't change layout, fonts, radii or copy. If a surface would need a new component to work as glass, stop and ask me first.