


008 Wiki Layout
Una maquetación de wiki para escritorio y móvil
Cómo organizar la barra de navegación, el índice, el final de los artículos, el pie de página y el cambio de sección en el móvil en una wiki o un centro de ayuda.
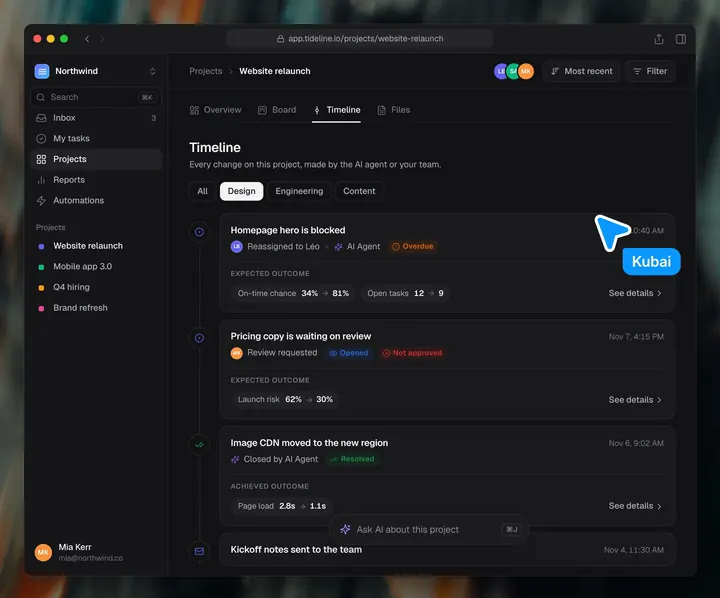
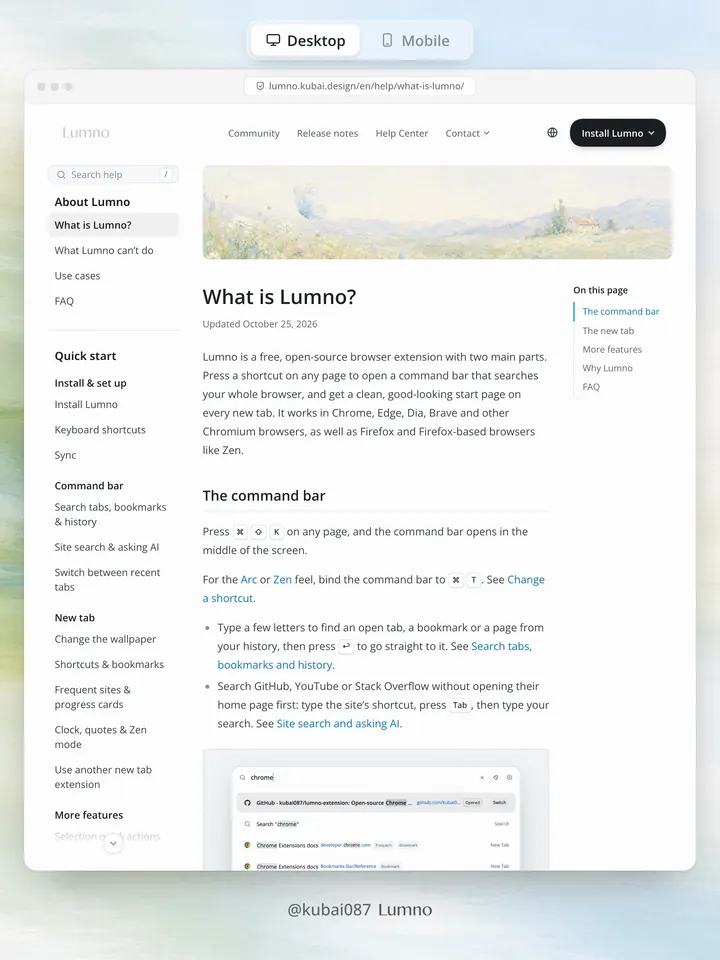
Cuando un producto se vuelve complejo y el sitio web necesita muchos artículos para SEO, una buena wiki responde a las dudas de los usuarios y además atrae tráfico de búsqueda. Los problemas más comunes son que en el móvil no se encuentra el índice y que, al terminar un artículo, el lector no sabe adónde ir. Hay que resolver estos cinco puntos de la maquetación:
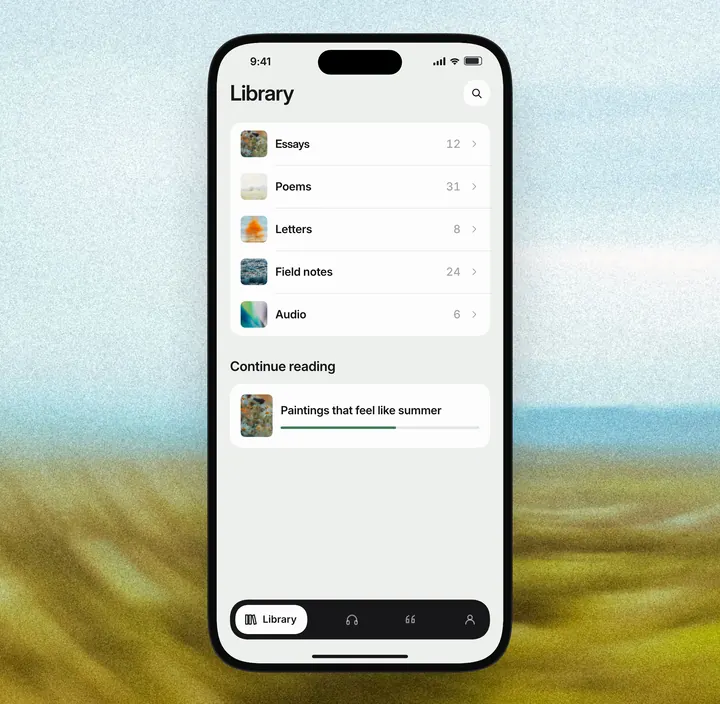
- Barra de secciones en el móvil: los móviles son sobre todo de pantalla estrecha, donde no cabe un índice lateral. Una barra de secciones fija en la parte inferior abre, al tocarla, un menú a pantalla completa con todas las secciones, una por línea, fácil de tocar y sin tener que volver arriba.
- Índice: cuando hay muchas secciones y no caben en una pantalla, el índice tiene su propia altura y se desplaza por separado del texto; lo que no cabe se corta arriba y abajo. Los bordes cortados llevan una máscara degradada que indica que hay más contenido, y un botón de flecha centrado para desplazarse con un clic.
- Final del artículo: debajo de los artículos que resuelven una duda, pon enlaces a la comunidad y a las redes sociales; tanto si quien lee es una persona como una IA, generan conversiones, como un anuncio contextual gratuito para tu objetivo de conversión. Las tarjetas siguen el estilo de los componentes del texto y parecen parte del artículo.
- Pie de página: con una imagen de fondo atractiva, el pie ocupa más de media pantalla e invita a llegar al final y quedarse. Dentro debe haber información realmente útil que ayude al lector a resolver su problema; si no, solo molesta.
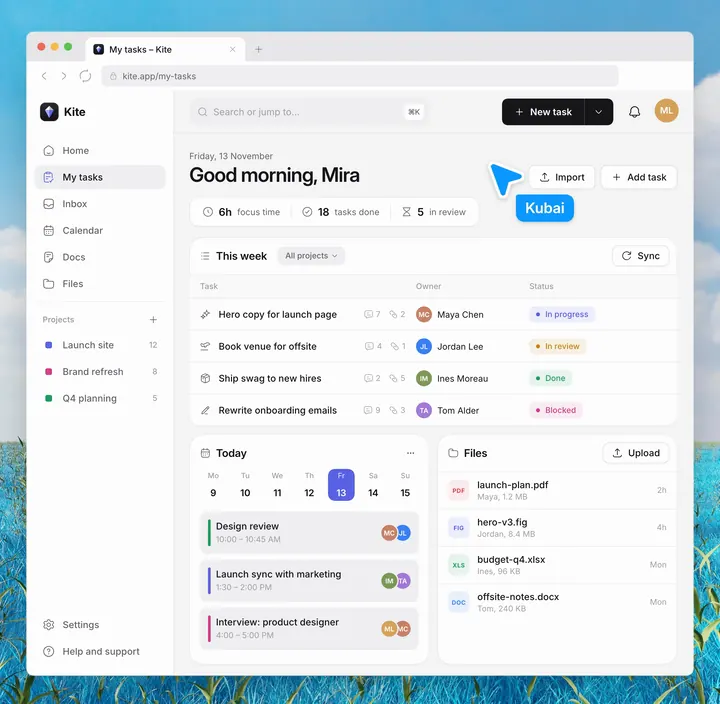
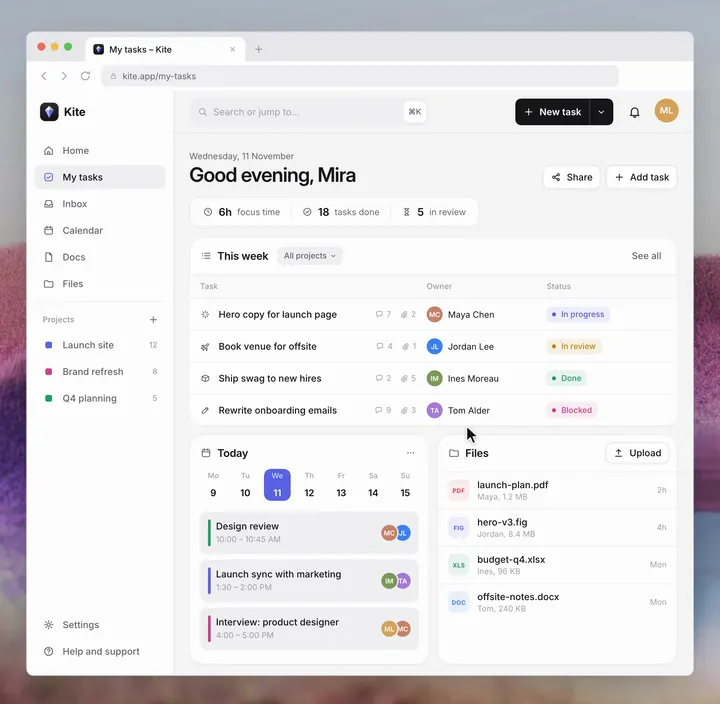
- Barra de navegación: el logo (que lleva al sitio web), menús desplegables para las páginas clave y el botón CTA principal; se queda fija arriba al desplazarse. Safari y otros navegadores tiñen la barra de direcciones con el color de la barra de navegación, así que el fondo debe armonizar con la marca.
El prompt que acompaña a este consejo localiza la maquetación común de las páginas de documentación y solo ajusta la posición, el desplazamiento y la adaptación de la barra de navegación, el índice, el esquema y el final del artículo; el contenido, los textos, los colores y las fuentes no cambian. Al terminar, hace una captura arriba, en medio y al final de la página, y otra con ancho de móvil, para que las revises.
Polish the layout of my docs or help center pages: the header, the page list, the outline and the end of each article. Keep the content, copy, colours and fonts. Change only how these parts sit, scroll and respond.

0. Start from what exists
- Find the shared docs layout, the site header, the page list (sidebar), the outline (table of contents) and the footer. Change those, so every page inherits the result.
- Use CSS and a little plain JS. Add no scroll or animation libraries.

1. Think of the page as three layers
- The article and the footer scroll with the page.
- The page list and the outline are position: sticky. They stop where they start, so they never jump when scrolling begins, and the end of the layout pushes them up at the bottom.
- The header becomes position: fixed only after the page's opening (banner or hero) has left the screen. Before that it belongs to the page and scrolls away with it.

2. Header: it scrolls away, then comes back floating
- At the top it is clear, with no background.
- Once the reader has scrolled and the banner's bottom edge is at or above the top of the screen (getBoundingClientRect().bottom <= 0), show it as a floating bar: position: fixed; a translucent white background; backdrop-filter: blur(18px); a soft shadow.
- It enters in 320ms ease-out, from translateY(-24px) with blur(8px) and opacity 0. It leaves in 120ms when the reader scrolls back up to the banner. If the reader scrolls down again during the exit, cancel it and keep the bar.
- Give headings a scroll-margin-top so anchor links never land under the bar.

3. Page list: it scrolls on its own, and shows where there is more
- Hide its scrollbar and let it scroll by itself.
- Fade an edge only while more of the list waits beyond it. Toggle data-more-above and data-more-below on scroll and resize, and drive a mask-image: linear-gradient(...) with them: about 40px at the top and 56px at the bottom, each with a short fully clear strip at the very edge, so a half-cut row never shows as a faint line.
- Add a small round arrow on each edge that has more. A click scrolls the list by 60% of its visible height, smoothly. Arrows are for the mouse only (tabindex="-1", aria-hidden="true"); keyboard focus already scrolls the list.
- On load, bring the current page into view. Keep the list's scroll position in sessionStorage, so moving to another page does not reset it.
- If there is a search box, let "/" focus it.

4. Outline: mark the section being read
- The current section is the last heading above a line 20% down the viewport.
- Mark its link with aria-current="location" and style that: border-left-color and text in the accent colour.
- Update it on scroll, at most once per animation frame.

5. End of the article: help first, then the next page
- If the reader is still stuck, a "Still need help?" card with one or two real channels (the issue tracker, the community, a contact).
- Then previous and next links, with each page's title. The first page links back to the home page.
- Then the footer.

6. Narrow screens
- Hide the outline on tablets and the page list on phones. Put both in one bar fixed at the bottom: the page list on its left half, the outline on its right half.
- The right half shows the name of the section being read, updated by the same 20% line, and truncated with an ellipsis when it is long.
- A tap on either half opens its list as a sheet from the bottom edge (a dialog opened with showModal()), sliding up 24px as it fades in, with no dimming behind it. Mark the current entry and scroll it into view (scrollIntoView({ block: "center" })).
- A tap on an entry, the close button, outside the sheet or Esc closes it; a section link then scrolls to its heading.
- Make the tap targets one size up from the desktop list.

7. Motion
- Under prefers-reduced-motion: reduce, turn off smooth scrolling and the header's enter and exit animations.

8. When done
- List every file and selector you changed.
- Check four states on my own pages: the top of a page, the middle, the end, and a phone-width window.
- Show a screenshot of each.