



010 Liquid Glass
Vidro líquido
As seis camadas do material de vidro líquido e como ajustar a tonalidade e a cor do texto ao brilho do fundo, para cards e players sobre imagens ou vídeos.
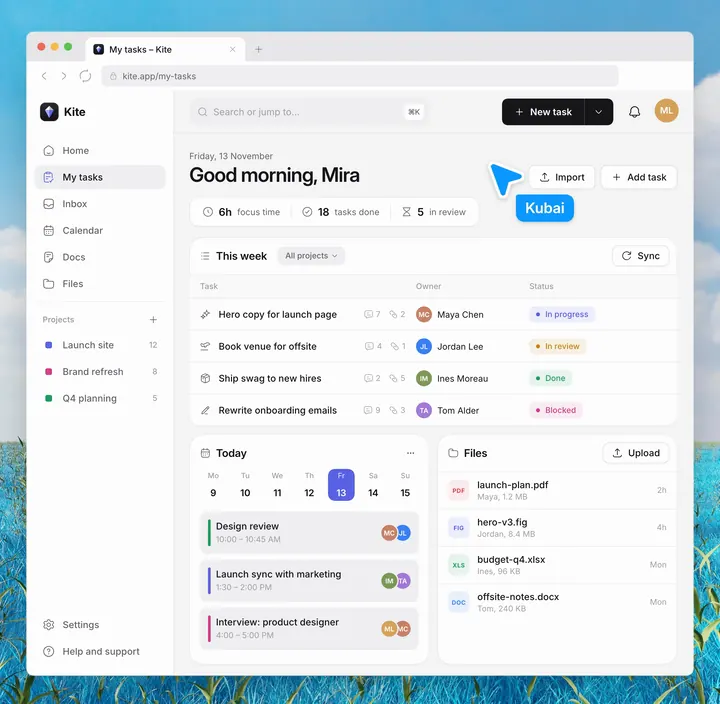
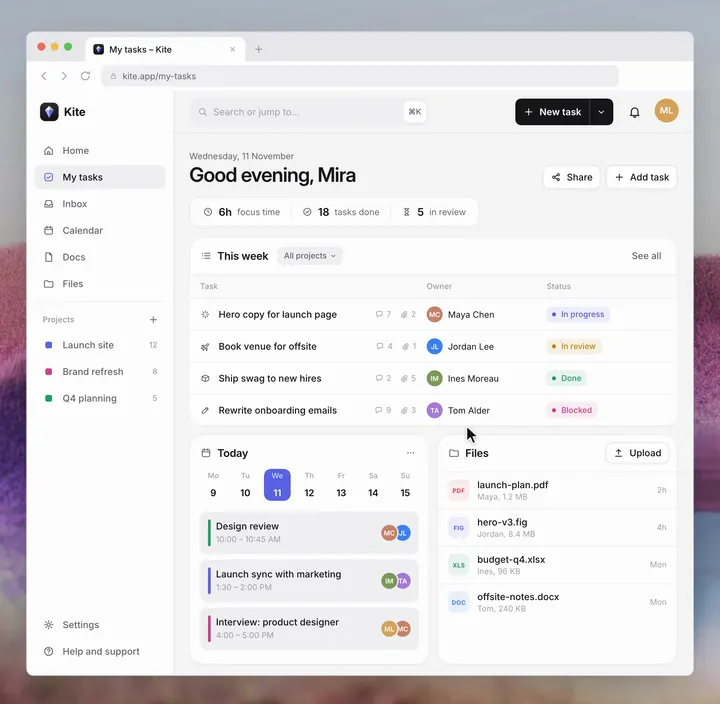
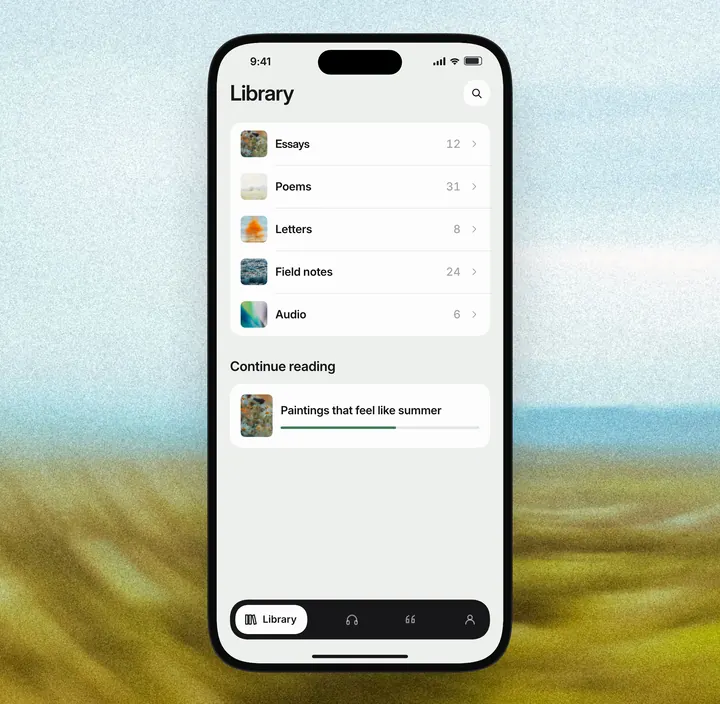
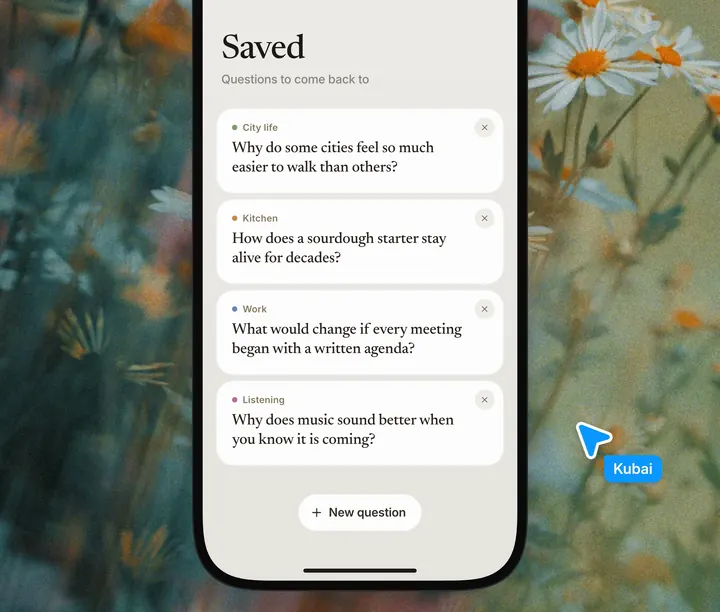
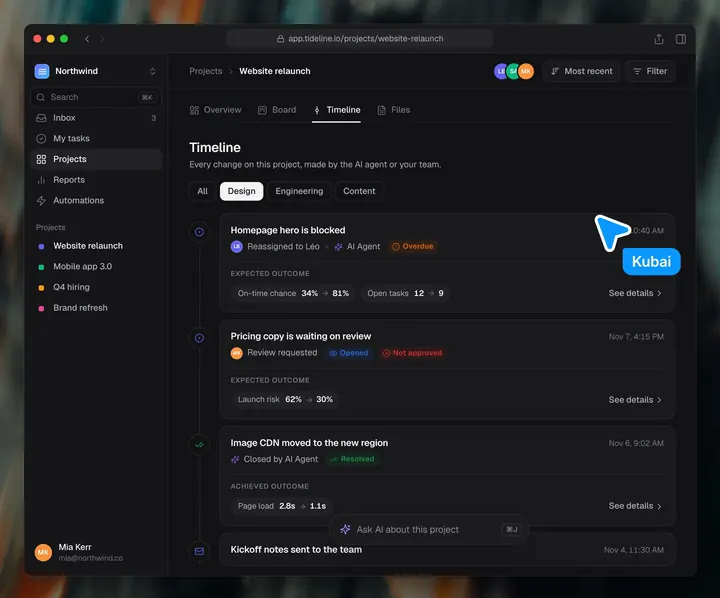
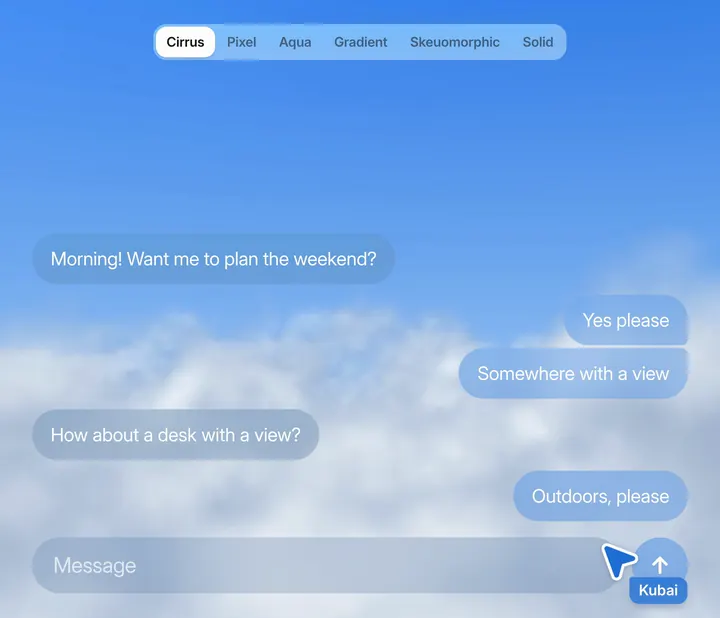
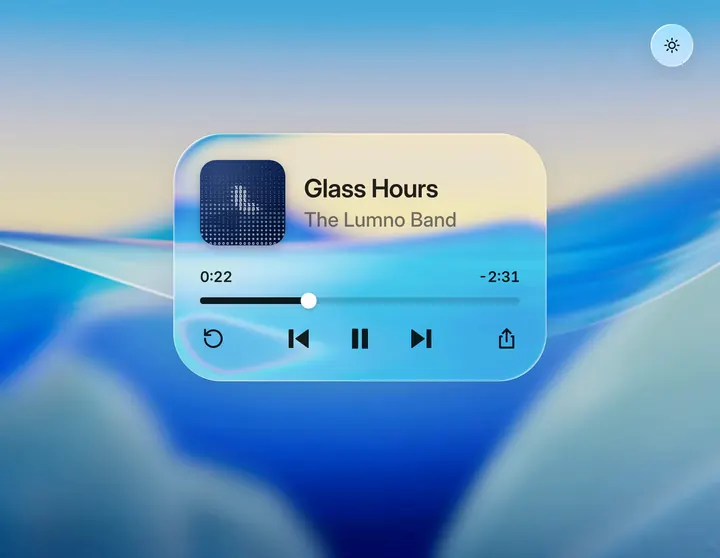
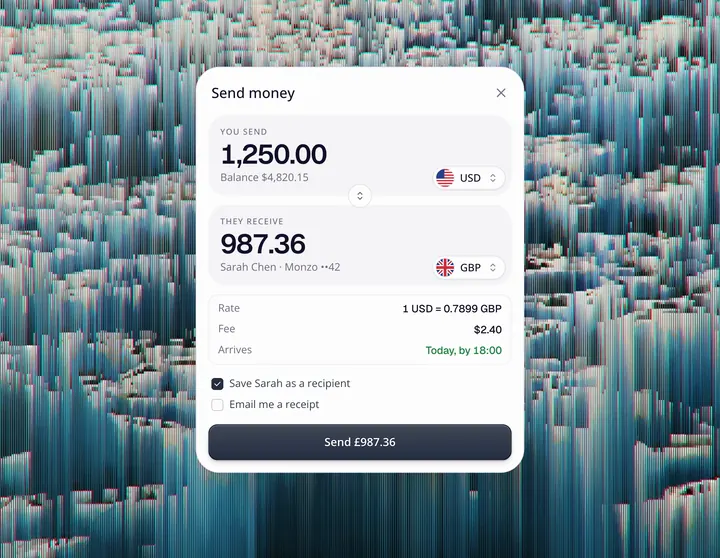
O vidro fosco comum tem só um fundo semitransparente e desfoque: com fundo complexo o texto fica difícil de ler, e sobre fundos escuros ele parece acinzentado. O vidro líquido acrescenta refração na borda e uma tonalidade que muda com o fundo; ganha aparência de espessura, e o texto continua sempre legível. Este material foi desenvolvido durante a criação do Lumno e é formado por seis camadas, de baixo para cima:
- Sombra: dá volume ao card.
- Desfoque e clareamento: desfoca o fundo e, ao mesmo tempo, aumenta a saturação e o brilho dele, para o vidro ficar mais translúcido. Vidro claro: saturação 180%, brilho 1,06; vidro escuro: saturação 160%, brilho 0,8.
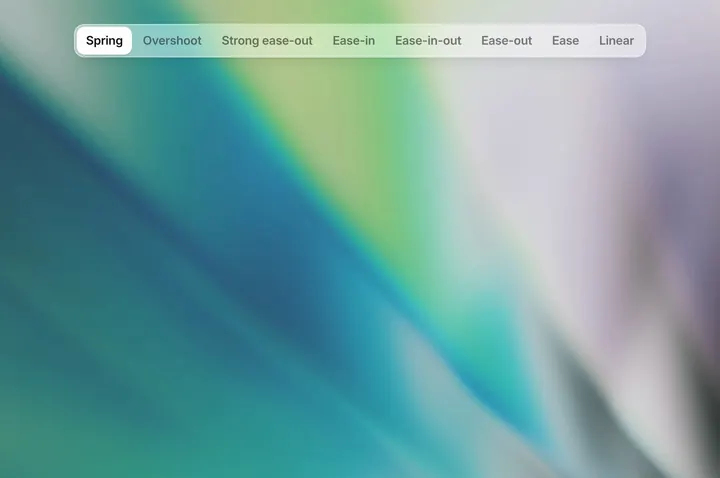
- Refração na borda: um mapa de deslocamento SVG desloca para dentro o fundo de uma faixa junto à borda; quanto mais perto da borda, maior o deslocamento, e o centro fica plano. A luz vermelha se desvia um pouco mais que a azul, criando separação de cores. Largura da borda 44px, separação de cores ±15%.
- Tonalidade: uma camada de cor semitransparente cuja opacidade se ajusta sozinha conforme a complexidade do fundo: quanto mais complexo, mais densa a tonalidade e mais fácil ler o texto. Vidro claro: branco a 6%–22%; vidro escuro: 16%–38%.
- Luz na borda: uma no canto superior esquerdo e outra no inferior direito, mais uma um pouco para dentro, para dar mais espessura ao conjunto.
- Tinta: o texto usa o modo multiplicar sobre vidro claro e um modo de sobreposição que clareia sobre vidro escuro, e assim ganha um pouco da cor do fundo.
Além disso, o material lê vários pontos de amostragem do fundo e calcula o brilho médio; abaixo de 0,5, passa automaticamente para a versão clara. O vidro líquido funciona sobre capas, vídeos, papéis de parede e outras imagens com muita variação de brilho ou de cor; sobre um fundo liso, quase não se distingue de um bloco de cor semitransparente. Ao conferir o texto, olhe tanto o ponto mais claro do fundo quanto o mais escuro.
Parâmetros
- Claro
- Tonalidade branca 6%–22%; desfoque 2px; saturação 180%; brilho 1,06
- Escuro
- Tonalidade rgb(20 20 24) 16%–38%; desfoque 2px; saturação 160%; brilho 0,8
- Refração
- Largura da borda 44px; deslocamento na borda 1,1 × largura da borda; separação de cores ±15%
Publiquei este material como uma ferramenta de código aberto, Glasswork: a tonalidade, o desfoque, a refração da borda, a luz da borda e a cor do texto são ajustados um a um em um painel, conferidos sobre diferentes papéis de parede, fotos e vídeos, e o resultado pode ser copiado como CSS.
O prompt que acompanha esta dica lista primeiro os cards, players e campos de busca do produto que ficam sobre imagens, vídeos ou fundos complexos, e diz quais passam a ser de vidro e quais ficam como estão; depois leva o material para os tokens de cor, com uma intensidade de tonalidade para o modo claro e outra para o escuro, sem mudar o layout.
Give the cards and panels in my product a liquid glass material: clear glass that takes its color from the scene behind it, reads as a thick slab at the rim, adapts to what is behind it, and keeps its text readable in light and dark mode. Work inside my existing design system. This is a change of surface, not of layout: keep my markup, spacing, radii, fonts, icons and copy.

0. Start from what exists
- Find every surface that sits over an image, a wallpaper, video or a busy background: cards, players, search bars, toolbars, menus, popovers, toasts. List them with their component and where they are.
- Find how the product switches between light and dark mode, and where its color tokens live. The glass goes into those tokens, not into each component.
- Leave surfaces over a plain background alone; glass over a flat color only looks gray.

1. The material as tokens
Build it as one set of variables per state, so a surface opts in by using them. The numbers are a starting point, for a UI at its normal size.
- Light glass, dark text (the default): tint white at 6–22% (by density, step 4); backdrop filter blur(2px) saturate(180%) brightness(1.06), so the color comes from behind and stays vivid instead of milky.
  Edge: inset 1.5px 1.5px 1px -1px white 95%, inset -1.5px -1.5px 1px -1px white 55%, inset 0 0 0 0.5px white 30%, 0 0 0 0.5px black 6%, 0 6px 24px black 8%.
  Inner light, on a layer inside the surface: a radial highlight from the top left (white 30% fading out by 55%), and soft inset glows just inside the rim, brighter at the top and left, a little shade at the bottom.
- Light mode over a dark area, light text: tint rgb(16 18 22) at 10–30%; filter blur(2px) saturate(170%), then brightness(0.85); edge: a faint inset white line on top and a 0.5px dark outline.
- Dark mode: tint rgb(20 20 24) at 16–38%; filter blur(2px) saturate(160%) brightness(0.8), which dims like a multiply with black instead of going muddy; the same edge and inner light at about a third of their strength, with a darker outline and shadow.
- Ink, one color in fixed steps, used for everything drawn on the glass:
  on light glass black 86% (titles, icons, times, progress), rgb(60 60 67) at 70% (secondary); mix-blend-mode multiply;
  on dark glass white 94%, rgb(235 235 245) at 64%; mix-blend-mode plus-lighter.
  Draw icons in the opaque color and fade the whole icon with opacity: a translucent color darkens where a shape's strokes and fills overlap.
- A highlighted row on light glass is a lighter layer of the glass: white 42% on hover, 76% when selected, with a white stroke. Never a gray wash.
- Register the numeric and color tokens with @property so a surface glides between states instead of jumping.

2. Apply it in four declarations
Each surface changes only these, and its markup stays as it is:
- background: the tint.
- backdrop-filter: the material's filter, then the rim lens (step 3) last, so the color steps fold into one pass and the bend stays crisp.
- box-shadow: the edge.
- color: the ink, with the blend mode on everything drawn inside.
Hover brightens the tint by about 14% instead of lifting a shadow.

3. The rim lens
- Build a displacement map for each surface: red is the sideways bend, green the vertical one, 128 is none. Only a rim bends; the middle stays flat.
- The rim is about 44px wide on a card (min(44px, the short side / 3.5), never under 4px). For a thick slab, a point d from the edge looks inward by 1.1 × rim × (1 - d / rim)^2.6: hard at the edge, where the scene folds back on itself, easing to nothing at the rim's inner edge.
- Draw the map for the same corner the CSS draws. If the surface uses corner-shape: superellipse(), follow that curve, not a circle, or the bend and the rim light miss each other at the corners.
- Put it in an SVG filter with feImage (the map) and feDisplacementMap (scale = 2 × the largest offset), and add url(#id) at the end of backdrop-filter.
- Split it into colors: three passes, red 15% further and blue 15% less, each kept to its channel with feColorMatrix and added back with screen blends. Check the corners of wide rims over busy backgrounds; lower the split where it turns into a haze.
- Only Chromium draws url() in backdrop-filter. Check CSS.supports('backdrop-filter', 'url(#a)') and skip Firefox, which parses it and draws nothing. Everywhere else the CSS-only glass stays.
- Wait for the map image to decode before pointing a surface at the filter, or it draws without its blur. Give every filter a unique id and its own <svg>. Build maps once per radius and rim width and reuse them; on resize, move the map, don't rebuild it.
- Skip the lens on surfaces under 32px, and on surfaces with will-change or their own compositing layer (menus, animated panels), where Chrome can draw the map instead of the bent backdrop.

4. Adapt to what is behind
- For each surface, sample the background under it at a 5 × 3 grid, drop the two darkest and two brightest points, and average. Luminance is (0.299 R + 0.587 G + 0.114 B) / 255; texture is the brightest point minus the darkest.
- Ink: in light mode, light text when the luminance is under 0.5. Keep the current ink within ±0.05 of the line so a surface never flickers at it. Dark mode is always light text. Neighbouring surfaces in one row share one decision.
- Density (0 thin, 1 dense) = 0.55 × how close the background is to the ink's own brightness + 0.7 × texture + 0.3 × chroma. It moves the tint between its thin and dense alpha.
- Saturation kept = 1 - 0.75 × chroma, at least 0.45, so a vivid background doesn't stain the glass.
- Sample again when the background, the theme or a surface's position changes, and remember the last ink so the next load opens in it.
- If the background is not an image you can read (live video, cross-origin content), pick the ink from the theme and use the dense tint.

5. Let people set the tint
- Add one setting for light mode and one for dark that scale the tint, from 0 to 1.5 (1 is the material as designed). Below 1 the brightness lift in the filter thins with it, so at 0 only the blur, the rim and the shadow are left.
- Each theme keeps its own value; switching themes glides to that theme's value.

6. Keep it accessible
- Check text contrast on the busiest and the darkest background the product allows, at the default tint; raise density, not the ink's opacity, until it passes.
- Respect prefers-reduced-transparency and forced colors: fall back to a solid surface in the same tint at full opacity.
- Keep focus rings, disabled states and error colors as they are; failures keep their red.

7. Deliver
- First list the surfaces you will change, which get the lens and the color split, and which you leave solid and why.
- Then add the tokens, the lens helper and the two settings, switch the surfaces over, and list every file you touched.
- Don't change layout, fonts, radii or copy. If a surface would need a new component to work as glass, stop and ask me first.