



013 Prompt Halo
충격파 광륜 효과
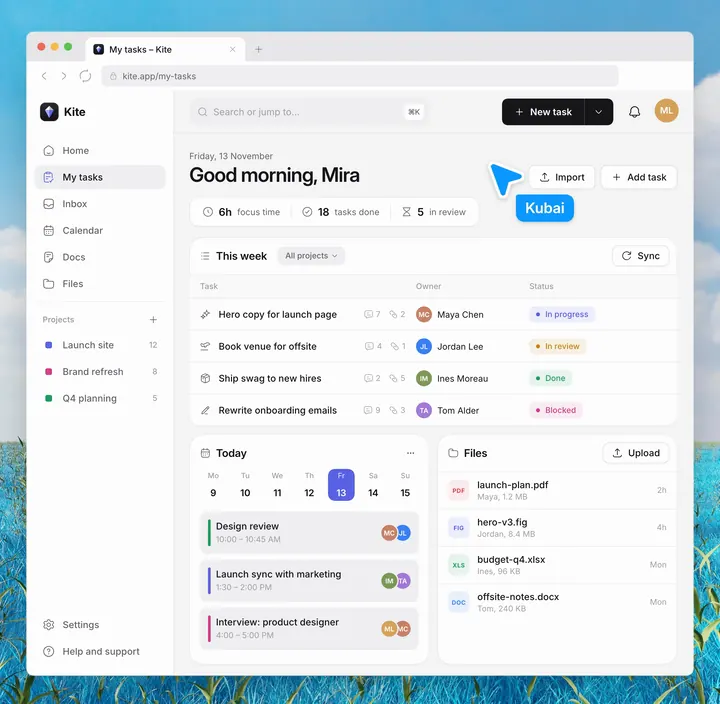
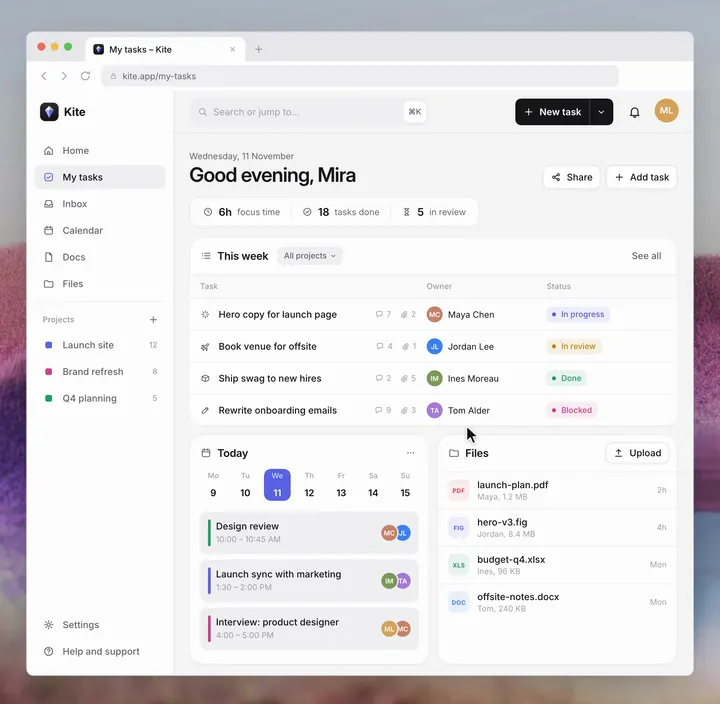
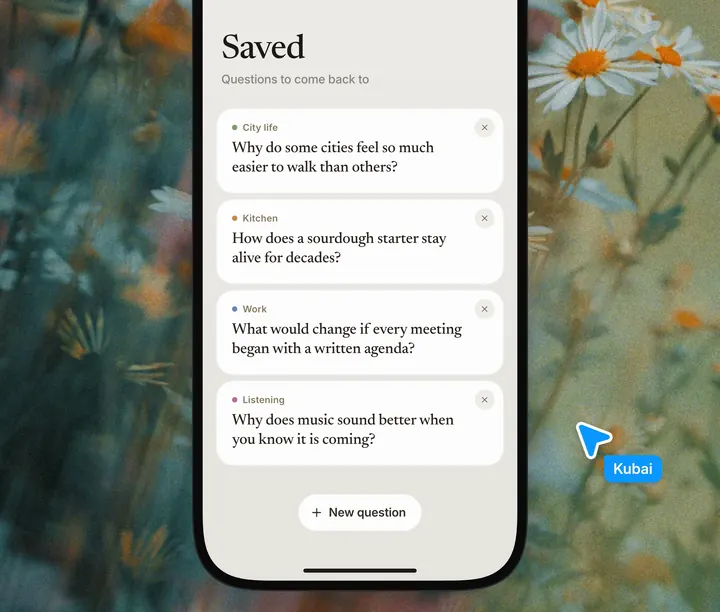
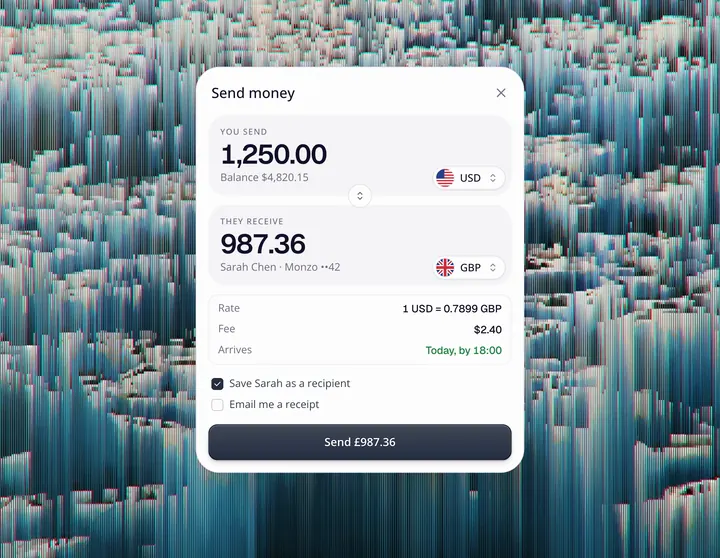
조작한 위치에서 바깥으로 퍼지며 렌즈 휘어짐과 색 분리가 함께 나타나는 충격파 광륜으로, AI 어시스턴트를 불러낼 때 재생하기에 적합합니다.
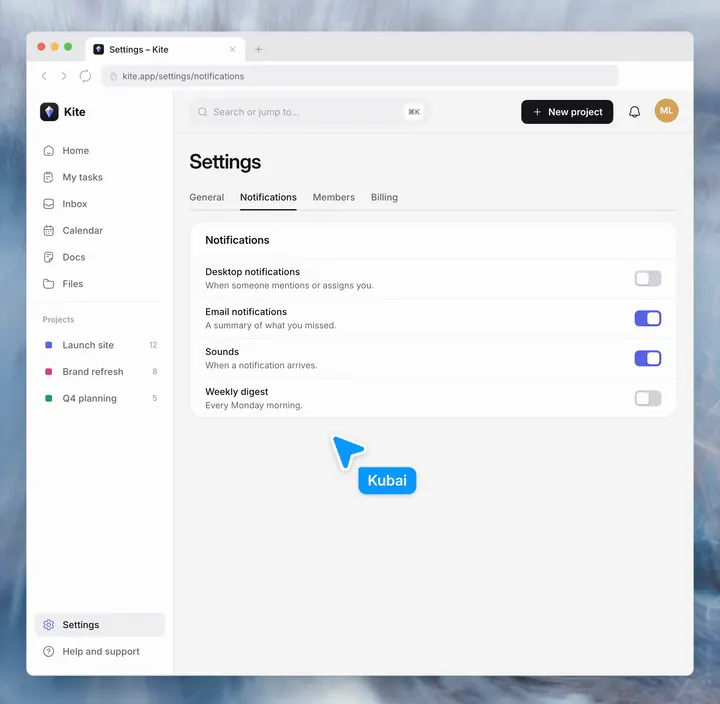
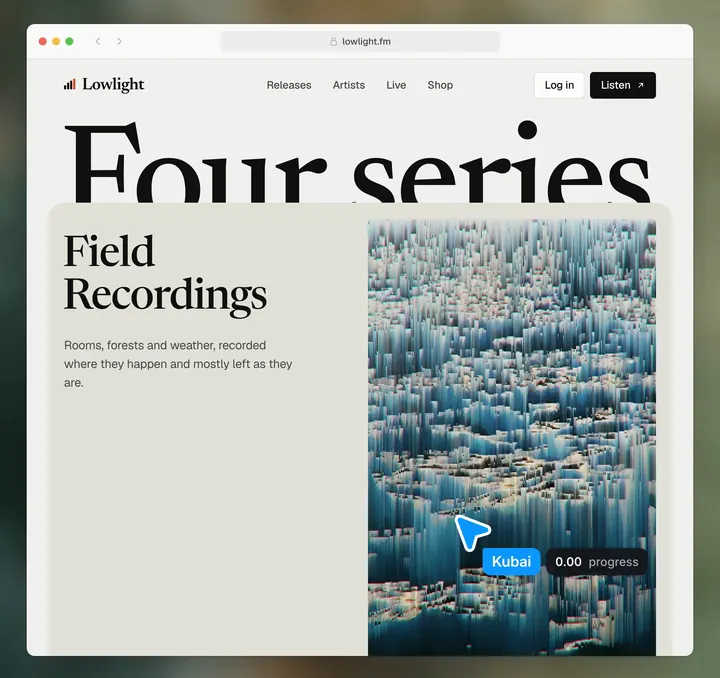
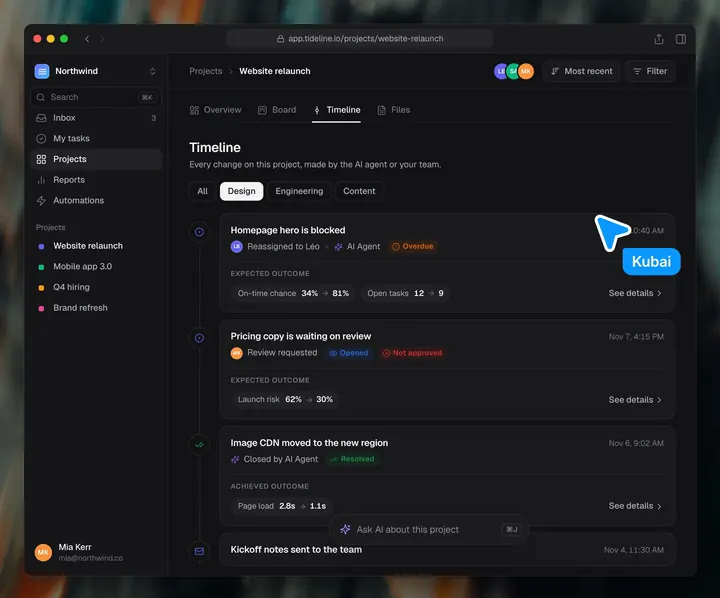
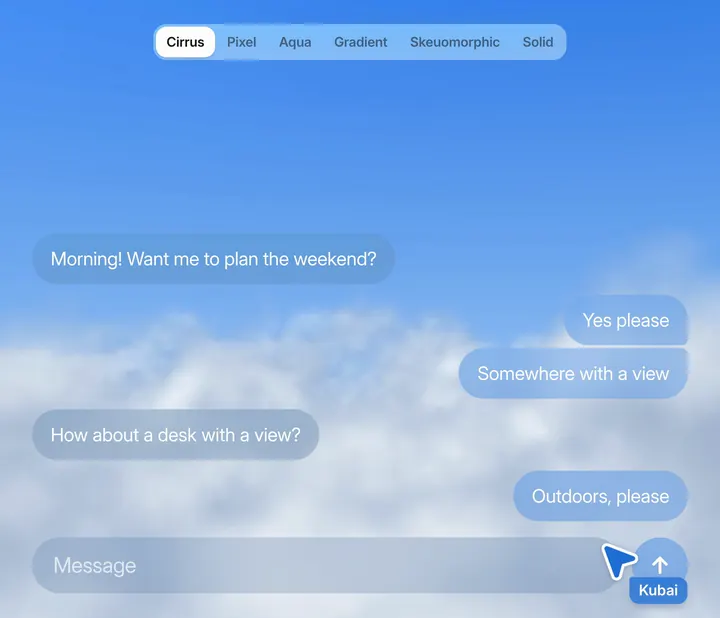
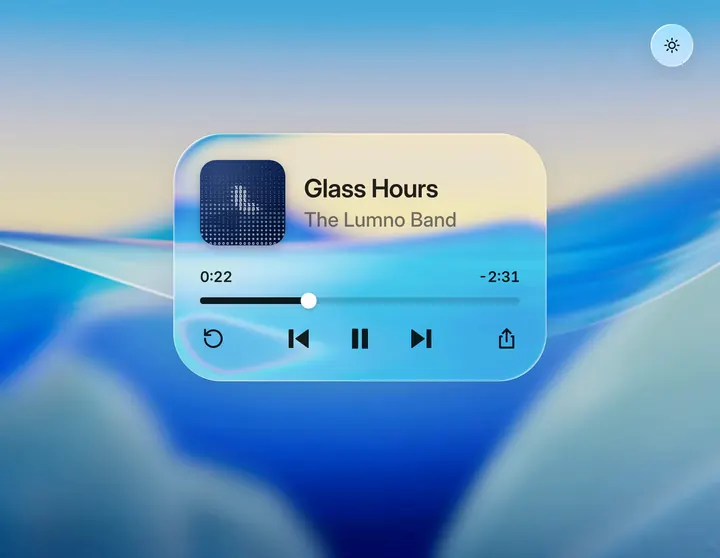
이 효과는 iOS 27.3에서 화면 가장자리를 따라 빛이 흐르는 효과와, Dia 브라우저에서 홈을 열 때 나타나는 광륜의 충격을 결합한 것입니다. 광륜이 조작한 위치에서 퍼지고 지나가는 페이지가 그에 따라 휘고 색이 갈라져, 물리적인 질감이 느껴집니다. 효과는 다음 여섯 겹으로 이루어집니다.
- 페이지 스냅숏: 현재 페이지를 이미지로 바꿔 이후 각 층을 계산하는 바탕으로 삼습니다. Chrome에 새로 추가된 HTML-in-Canvas를 활용할 수 있습니다.
- 렌즈 휘어짐: 광륜 전체를 하나의 렌즈로 보고 바깥쪽은 늘리고 안쪽은 압축해, 공간이 밀려나는 모습을 표현합니다.
- 채널 분리: 빨강과 파랑 채널의 이동량을 초록 채널보다 각각 8% 많게, 8% 적게 해, 이동한 곳에 옅은 색 분리를 만듭니다. 글자는 여전히 또렷합니다.
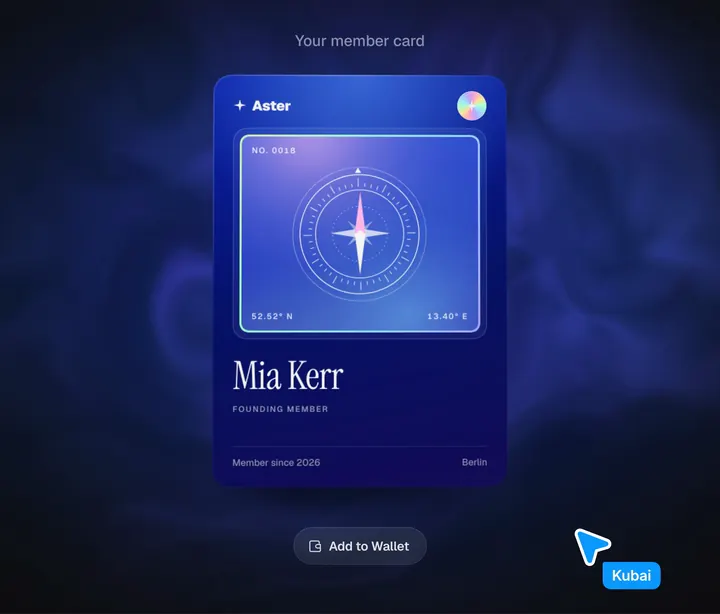
- 색 고리: 네 개의 색 고리가 부드럽게 이어지고 퍼지면서 점점 옅어지며, 광륜의 색과 밝기를 정합니다. 라이트 모드에서는 페이지에 색을 입히고, 다크 모드에서는 screen 혼합으로 페이지에 빛을 더합니다.
- 가장자리 굴절: 광륜은 콘텐츠 영역 안에서만 퍼지고 브라우저나 앱의 도구 막대는 덮지 않습니다. 가장자리에 닿으면 콘텐츠가 유리의 비스듬한 면을 통해 보듯 가장자리 쪽으로 살짝 늘어나고, 창 테두리는 그대로 둡니다.
- 선 위의 반짝임: 광륜이 지나갈 때 구분선과 테두리가 잠깐 밝아져 페이지 구조도 효과에 참여합니다. 다크 모드에서는 더 약하게 합니다.
또한 광륜은 눈에 잘 띄므로 AI 호출처럼 자주 하지 않는 동작에만 적합합니다. 자주 누르는 버튼에 쓰면 금방 성가시게 느껴집니다. ‘동작 줄이기’가 켜져 있으면 휘어짐과 색 분리를 없애고, 광륜은 제자리에서 나타났다 사라지기만 합니다.
매개변수
- 시간
- 1000ms에 걸쳐 퍼짐, 빠르다가 느려짐
- 색 분리
- 빨간색은 이동량의 1.08배, 파란색은 0.92배
- Aurora
- 파란색, 보라색, 분홍색, 복숭아색
- Halo
- 주황색, 노란색
- Frost
- 민트색
- Spark
- 보라색, 금색
함께 제공하는 Prompt는 먼저 트리거 조건, 퍼지는 위치, 휘어짐과 가장자리 굴절 사용 여부, 배색을 확인합니다. 확인한 뒤 프로젝트의 기술 스택에 맞춰 구현 방안을 제안합니다.
Add a shockwave halo to my product: when something triggers it (by default, clicking or focusing the AI input), a faint halo of light sweeps across the page from one place and fades out, bending the page a few pixels as it passes, with a slight color split, in my dark and light modes. Build it inside my code and design system; do not change what the page does or how it looks at rest. Every value below is a default to start from, not a requirement.

First look at my app (section 0). Then ask me these one at a time, offering the default each time, and wait for each answer:
1. Trigger: what starts the halo (clicking or focusing the AI input, a keyboard shortcut, sending a message, the AI starting to answer, something else), and what happens if it is triggered again while one is running (restart, or ignore).
2. Origin: where it spreads from (the AI input, a button, the bottom edge of the page, the point that was clicked, the middle of a panel), and over which area (the page's content area, one panel, the whole window). Toolbars always stay clear.
3. Layers: the color rings (section 3) are always on; ask yes or no for each of the others: the bend (section 4), the color split, the refraction at the edges, the glints on lines and borders. The bend, the split and the refraction need the page as an image (section 6), so say what each costs on my platform.
4. Colors: one of the four palettes in section 3, or my brand colors (then derive four rings, and a dark and a light version, from them), and which modes my app has.
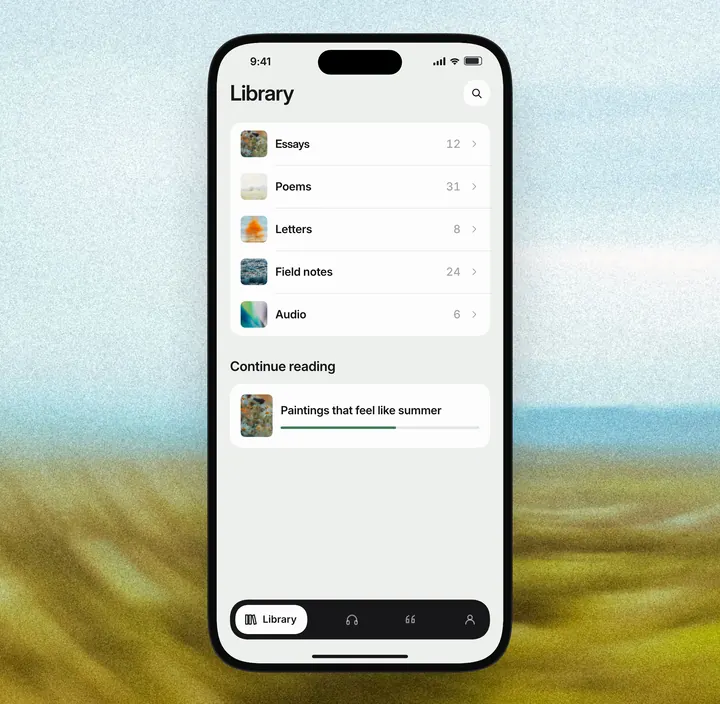
5. The input: leave my AI input as it is (the default), or turn it into the pill that springs open with a metal edge (section 1).
Then propose how you will build it on my platform (section 6 is a starting point, not a prescription), with the cost and any fallback, and wait for my go-ahead.

0. Start from what exists
- Find the AI input, what opens or focuses it, the page container it sits in, its corner radius, any toolbars over it, and whether the app has a dark mode.
- List what the page draws with (DOM, a canvas, a native view tree, a GPU renderer) and the platform version range: this decides how the bend can be done (section 6).

1. The input (only if I chose the pill)
- At rest: a pill 300 x 44 px, radius 22, white (dark: rgb(30 30 33)), a 1px hairline, a sparkle icon, the placeholder "Ask AI about this project" in 14px and a shortcut hint on the right. It sits centered on the page's content, 48px above the page's bottom.
- On click: the pill dips to 97% for 90ms, then springs open into a card 460 x 100, radius 16, growing from its center and keeping its bottom edge where it was. Spring: progress = 1 - exp(-8t) * cos(6t) over 580ms (barely past the end, settles by the end). The card's content is laid out at its final size from the start and is revealed as it grows; it fades in from 30% of the way. Height and radius follow the same progress.
- The open card: one line of text at 15px on a 22px line, 16px from the left, the caret first and the placeholder right after it; a hairline; then a toolbar 52px tall: a round add button, a short divider, two pickers (model, mode), and on the right a voice button and the send button, all 32px.
- Shadow: wide, soft and far, not heavy: 0 0 0 1px rgb(15 23 42 / 0.09), 0 2px 4px rgb(15 23 42 / 0.04), 0 28px 64px -16px rgb(15 23 42 / 0.22). No focus ring; focus shows only as the caret.
- The metal edge: a 1px border painted with a light silver gradient, linear-gradient(120deg, rgb(238 240 243), rgb(196 202 210) 28%, rgb(241 243 245) 50%, rgb(188 195 204) 74%, rgb(233 236 239)) (dark: rgb(74 79 87) to rgb(51 55 61)), with a highlight on top: conic-gradient(from <angle>, transparent 0 280deg, rgb(255 255 255 / 0.8) 325deg, transparent 360deg). Turn the angle from -60deg to 300deg over 900ms (ease-out) as the card opens, and fade the whole edge in and out over that time (opacity sin(pi * t), at most 0.75). Mask the gradient to the border only (mask with content-box exclude).
- Closing: back to the pill in 320ms, ease-in-out.

2. The halo's shape and timing
- The halo is a circle that grows from the origin I chose. The defaults assume the origin is the AI input at the bottom of the page: the circle's center sits below the page, horizontally at the input's center and 650px below the page's bottom edge, so what shows is a wide arc rising from the bottom.
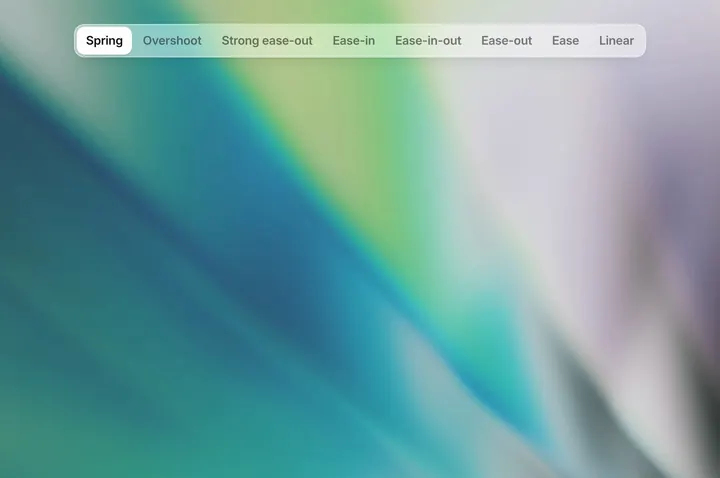
- It starts with its middle at the page's bottom (radius 650) and grows by 800px over 1000ms, so it ends just past the page's top: radius = 650 + 800 * (1 - 2^(-9t)) / (1 - 2^(-9)). That is very fast at first and slow near the far edge.
- For another origin, keep the same timing and set the start and the growth so the halo starts at the origin and ends just past the farthest edge of the area: from a point inside the area, center the circle on the point and start at a radius of 0 to 40px; from an edge, put the center beyond that edge, about two thirds of the area's width away.
- Strength over the same time: min(1, t / 0.03) * (1 - t^2.2), so it is gone by the end and fades over its slow last stretch.
- It starts on the trigger (40ms after the input starts opening, if it opens).
- It stays in the area I chose: clip it to that area, with a straight edge under any toolbar and the area's own corner radius elsewhere (12px in the demo). It must never draw over a browser or app toolbar.

3. The rings and the palettes
- Across the halo's width sit four broad rings, one color each, inside to outside. With w = 110px and x = (distance from the center - radius) / w, ring i is centered at x = i - 1.5 with weight exp(-((x - c) / 0.8)^2); the color is the weighted average of the four, so neighbors blend softly. One fade covers all four: alpha = strength * exp(-1.1 * (x / 2)^2).
- Light mode tints the page: color = mix(page, ring, alpha * 0.24) + ring * alpha * 0.24 * 0.2.
- Dark mode adds light (screen): color = 1 - (1 - page) * (1 - ring * alpha * 0.3 * 1.5).
- Palettes, rings inside to outside. Each is tuned twice: brighter and more saturated on dark, softer on light.
  Aurora (blue through violet and pink to peach)
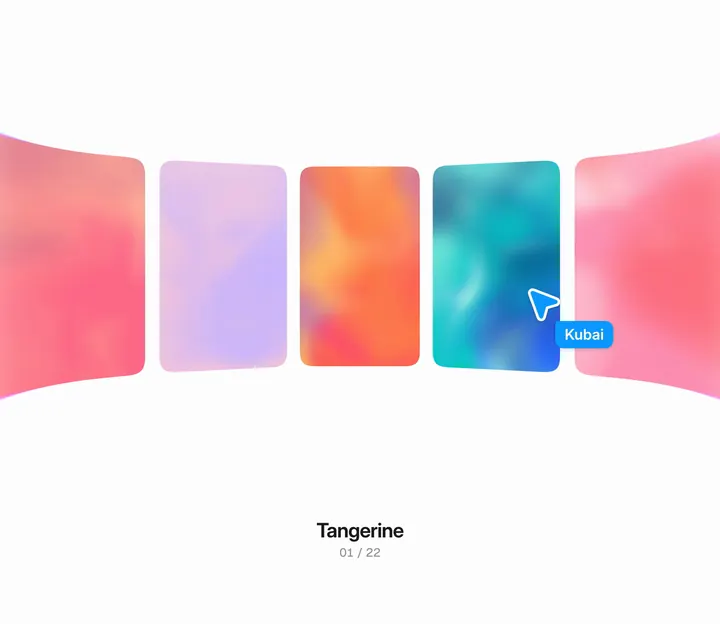
    dark: rgb(80 140 255), rgb(160 110 255), rgb(255 110 180), rgb(255 190 140)
    light: rgb(110 150 255), rgb(180 130 255), rgb(255 130 190), rgb(255 180 120)
  Halo (orange through amber to gold, like low sun through a lens)
    dark: rgb(255 150 60), rgb(255 190 70), rgb(255 225 120), rgb(255 245 210)
    light: rgb(255 140 50), rgb(255 175 60), rgb(245 200 80), rgb(255 225 150)
  Frost (mint and aqua with a touch of lime)
    dark: rgb(80 220 175), rgb(70 195 225), rgb(180 240 150), rgb(235 255 245)
    light: rgb(40 190 150), rgb(50 170 210), rgb(140 210 90), rgb(180 235 215)
  Spark (violet into gold)
    dark: rgb(140 100 255), rgb(200 130 255), rgb(255 200 110), rgb(255 235 170)
    light: rgb(130 95 240), rgb(185 125 245), rgb(245 185 80), rgb(250 215 120)

4. The bend
- The whole halo bends the page as one lens, never ring by ring (ring by ring reads as water ripples). With z = x * 0.75: push = 7px * 2.33 * z * exp(-z^2), along the direction away from the circle's center; read the page at position - push. Outside the halo's middle the page stretches, inside it squeezes, over about the width of the rings and no wider.
- Color split: at most a trace. Read red at 1.08 times the offset and blue at 0.92 times; text must stay clean.
- The frame holds the page: fade the lens to nothing over the last 56px before the page's edge, so the edge stays straight.
- The page's lines catch the light: where the halo passes, its rules, borders and the outlines of chips, cards and nodes brighten toward the ring color (mixed 20% toward white), at the halo's strength times exp(-1.4 * (x / 2)^2) times 0.3 on light and 0.14 on dark (a faint glint, not a redrawn border), read at their bent position so the glint follows them. Text and icons never light up. To find the lines, use a second capture of the page with every rule and border drawn white at its own width on black, and nothing else (no text, icons, pictures, fills or shadows); light the page where that capture is white, so a 1px border glints as 1px. Without a capture (a retrofit in the DOM), give each bordered element and divider a CSS variable from 0 to 1 by its distance to the halo's front each frame, and mix its border color toward the ring color by it.
- The edge as a glass bevel: at the sides and the bottom (not under a toolbar), where the halo reaches the edge, read the last 60px of the page from up to 22px further in (22 * (1 - d/60)^2 * the halo's strength there), so content beside the edge stretches toward it. Where the halo meets the edge, add a thin line of light (exp(-d / 7)) in the ring color mixed 45% toward white.

5. Rhythm
- On the trigger: if the input opens, it dips to 97% for 90ms, springs open (580ms) and its edge highlight turns (900ms); the halo leaves 40ms after the opening starts and runs 1000ms. Without the input, the halo runs on the trigger.
- Switching between dark and light cross-fades the halo's colors with the page; never cut.
- Reduced motion: no bend, no split and no glints; the halo fades in and out in place at half strength over 600ms.
- Draw only while the halo runs; nothing at rest.

6. How to build it, by platform
These are suggestions from what worked in the demo and what each platform offers; check them against my stack and its versions, and choose what fits. The halo itself (the rings, and the glints on lines and edges) is only an overlay and works anywhere. The bend needs the page as an image to sample from.
- Web, as in the demo: a WebGL2 canvas over the page draws everything in one fragment pass from a snapshot of the page. Cap the pixel ratio at 2; the canvas ignores pointer events and is removed or hidden at rest.
- Web, getting the snapshot:
  - HTML-in-Canvas (WICG): a canvas with the page as its child, drawn with drawElementImage() or uploaded as a WebGL texture, live and with real browser rendering. Behind the canvas-draw-element flag in recent Chromium and reported on by default from Chrome 157; no Firefox or Safari yet. Use it where present.
  - SVG foreignObject libraries (html-to-image, modern-screenshot): the browser renders the clone, so it is faithful, but images and fonts must be inlined or same-origin, the root needs a background color, and backdrop-filter is unreliable. Take it once on click (tens to a few hundred ms), then animate.
  - html2canvas (or html2canvas-pro): it re-implements CSS on a canvas, so modern effects (backdrop-filter, some gradients, oklch) may come out wrong. A last resort.
  - Fallback without a snapshot: draw only the halo in a transparent canvas over the page (light mode: normal alpha; dark mode: mix-blend-mode: screen or plus-lighter), and skip the bend. In Chromium only, a bend is possible with backdrop-filter pointing at an SVG filter with feDisplacementMap, at a cost.
- iOS (SwiftUI, iOS 17+): put the halo in a Metal [[stitchable]] function and apply .layerEffect(shader, maxSampleOffset: CGSize(width: 30, height: 30)) to the page view: it can sample the view at bent positions and add the color, live. Drive radius and strength from a TimelineView or an animatable value. Below iOS 17: an overlay with an AngularGradient and blur, without the bend.
- Android (API 33+): write the shader in AGSL as a RuntimeShader with a uniform shader named for the content, and set view.setRenderEffect(RenderEffect.createRuntimeShaderEffect(shader, "content")) on the page's root (in Compose: Modifier.graphicsLayer { renderEffect = ...asComposeRenderEffect() }). Update its uniforms every frame. Below 33: an overlay only.
- Flutter (Impeller): a FragmentProgram with ImageFilter.shader inside a BackdropFilter clipped to the page; the engine passes the content as sampler 0 and its size as the first vec2. Use FlutterFragCoord(), flip y on GLES, and check ImageFilter.isShaderFilterSupported, with an overlay-only fallback.
- Rust: render the UI into an offscreen texture, then draw one fullscreen pass with the same shader ported to WGSL that samples it.
  - wgpu by hand: render target texture with TEXTURE_BINDING usage, a fullscreen triangle, uniforms in one buffer.
  - Bevy: a custom post-processing node; call post_process_write() on the ViewTarget to get the source and destination textures, as in Bevy's custom post-processing example.
  - egui or iced on wgpu: render the frame into a texture through the renderer's wgpu callback and composite with the shader; their widgets cannot sample what is under them by themselves.
- Electron and Tauri: the web route; Electron can also take a snapshot with webContents.capturePage().

7. Check
- Dark and light, in the colors I chose: the text under the halo stays readable and unsplit; the halo never shows on a toolbar; the area's corners stay clean; the bend is no wider than the rings.
- The trigger and the origin are the ones I chose, and the page works exactly as before.
- It runs only while the halo is visible and costs nothing at rest.