



010 Liquid Glass
リキッドグラス
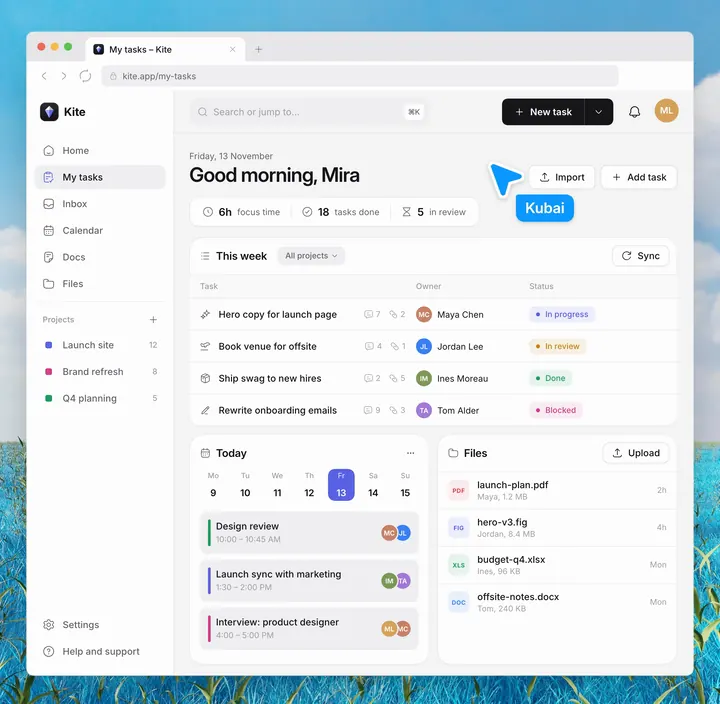
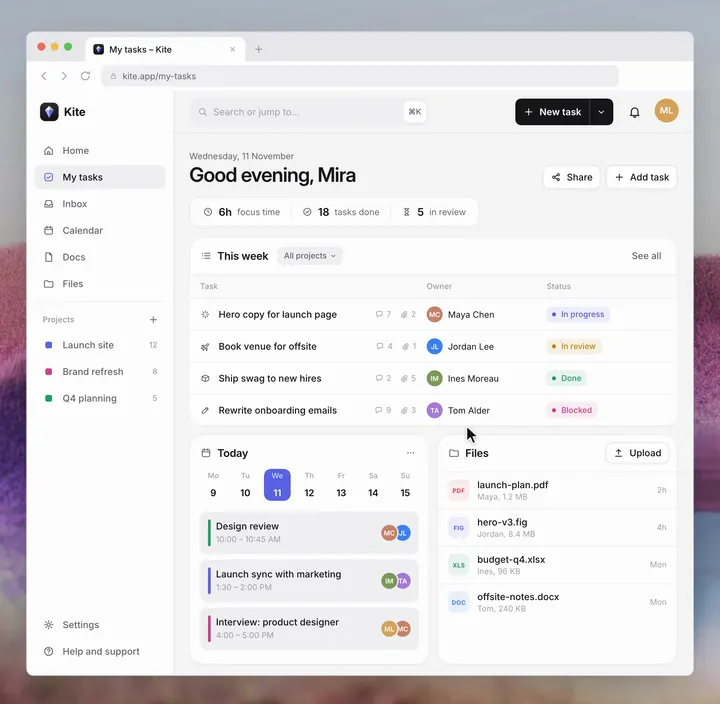
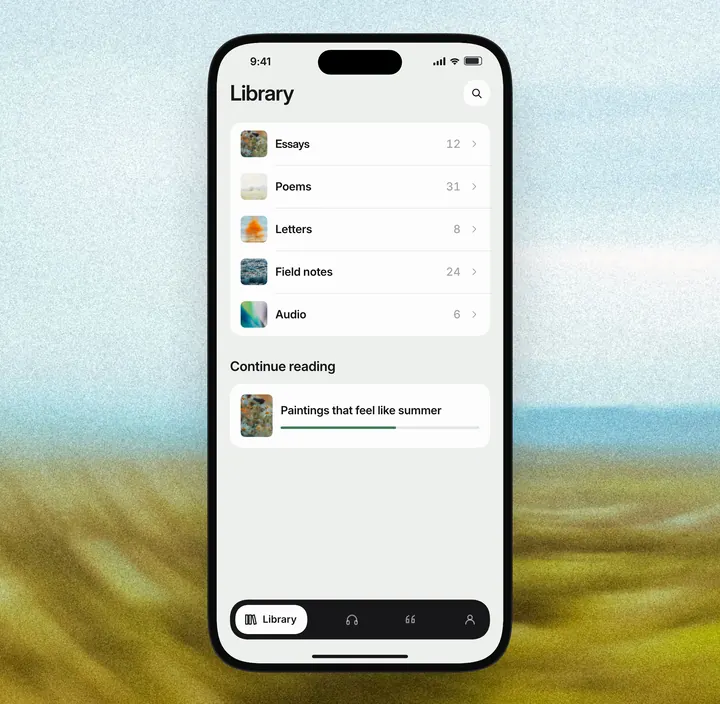
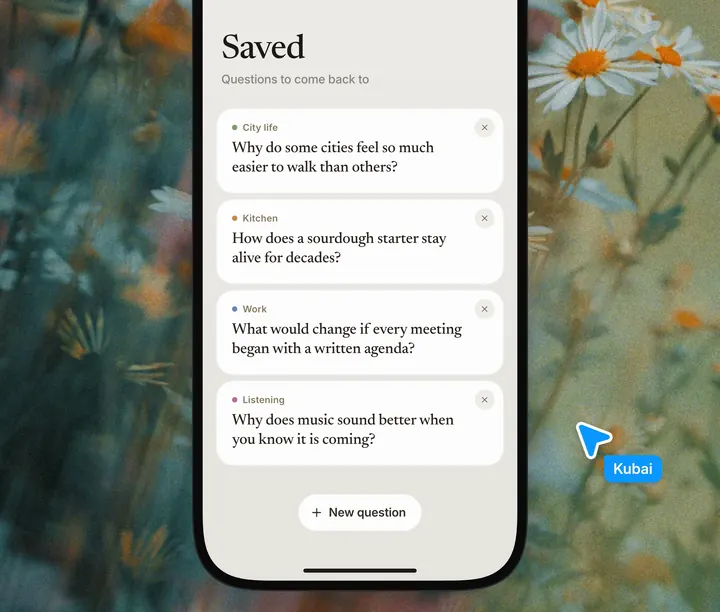
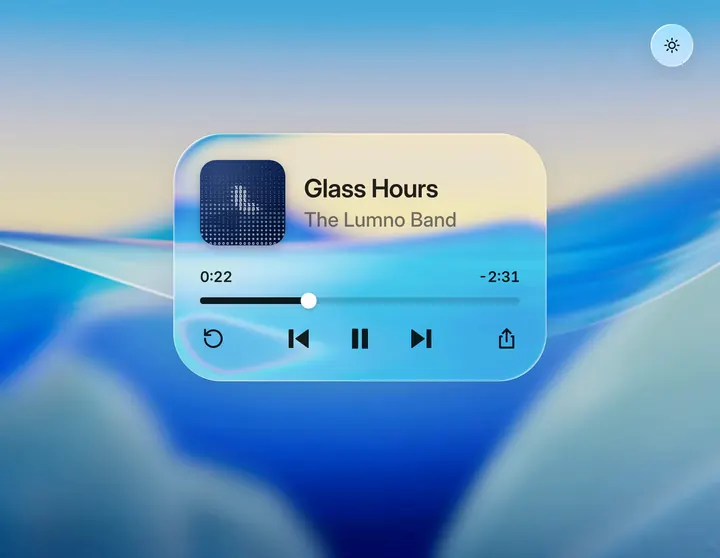
リキッドグラスのマテリアルを6層で作る方法と、背景の明暗に合わせてティントと文字色を調整する方法。画像や動画の上に置くカードやプレーヤーに向いています。
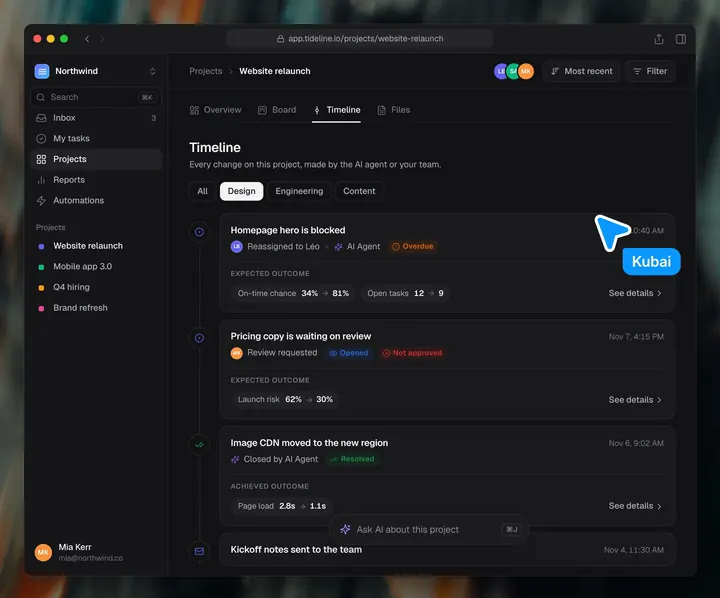
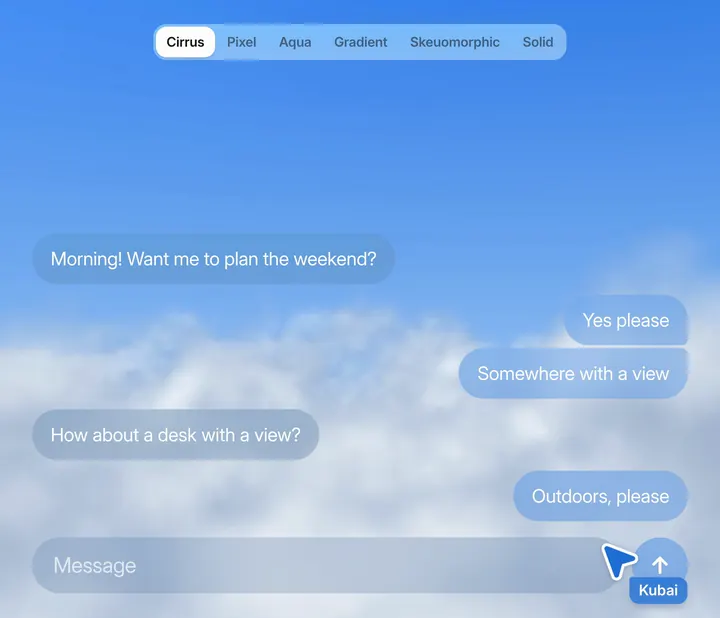
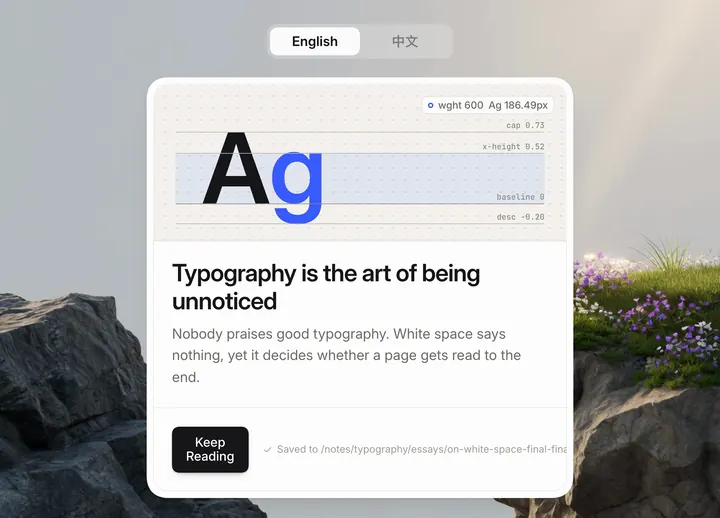
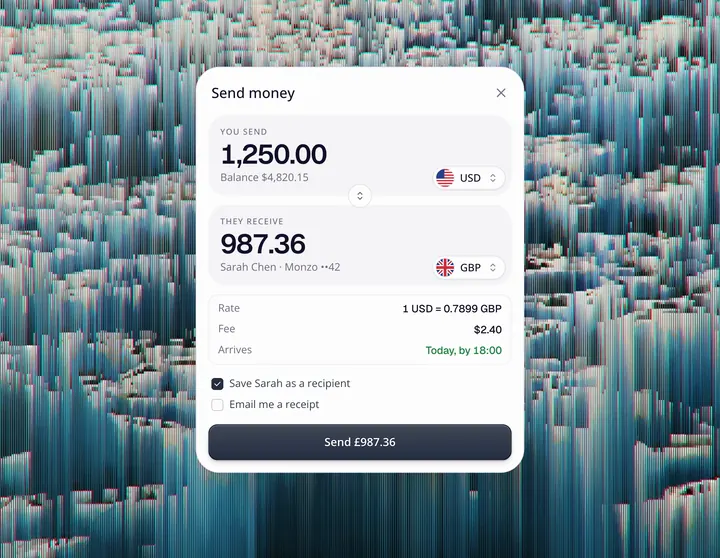
通常のすりガラスは半透明の背景とぼかしだけなので、背景が複雑だと文字が読みにくく、暗い背景ではくすんで見えます。リキッドグラスは縁の屈折と背景に応じて変わるティントを加えているので、厚みがあるように見え、文字も常にはっきり読めます。このマテリアルは Lumno の開発中に研究したもので、6層を重ねて作ります。下から順に次のとおりです:
- 影:カードの立体感を表します。
- ぼかしと明るさ:背景をぼかし、同時に背景の彩度と明るさを上げて、ガラスの透明感を高めます。ライトのガラスは彩度 180%、明るさ 1.06、ダークのガラスは彩度 160%、明るさ 0.8 です。
- 縁の屈折:SVG のディスプレイスメントマップで縁の周りの背景を内側へずらし、縁に近いほど大きくずらして、中央は平らに保ちます。赤い光を青い光より少し多く曲げて、色の分離を作ります。縁の幅 44px、色の分離 ±15% です。
- ティント:半透明の色の層で、不透明度は背景の複雑さに応じて自動で調整します。背景が複雑なほどティントを濃くし、文字を読みやすくします。ライトのガラスは白 6%–22%、ダークのガラスは 16%–38% です。
- リムライト:左上と右下に1本ずつ、さらに内側に1本加えて、全体の厚みを出します。
- 文字色:ライトのガラスでは乗算、ダークのガラスではオーバーレイで明るく合成し、文字に背景の色が少し乗るようにします。
なお、マテリアルは背景上の複数のサンプル点を読み取って平均の明るさを計算し、0.5 を下回るとライトに自動で切り替えます。リキッドグラスはカバー画像、動画、壁紙など明暗や色の変化が豊かな画面に向いており、単色の背景では通常の半透明の色面とほとんど区別がつきません。文字を確認するときは、背景の最も明るい部分と最も暗い部分の両方を見ます。
パラメーター
- ライト
- ティント 白 6%–22%;ぼかし 2px;彩度 180%;明るさ 1.06
- ダーク
- ティント rgb(20 20 24) 16%–38%;ぼかし 2px;彩度 160%;明るさ 0.8
- 屈折
- 縁の幅 44px;縁でのずれ 縁の幅の1.1倍;色の分離 ±15%
筆者はこの素材をオープンソースのツール Glasswork として公開しています。着色、ぼかし、縁の屈折、縁の光、文字色をパネルで一つずつ調整し、さまざまな壁紙、写真、動画の上で見え方を確認したうえで、CSS としてそのままコピーできます。
付属の Prompt は、まずプロダクト内で画像、動画、複雑な背景の上に置かれているカード、プレーヤー、検索ボックスを一覧にし、どれをガラスに変えてどれをそのままにするかを説明します。次にマテリアルをカラートークンに書き込み、ライトモードとダークモードそれぞれにティントの濃さを設定します。レイアウトは変えません。
Give the cards and panels in my product a liquid glass material: clear glass that takes its color from the scene behind it, reads as a thick slab at the rim, adapts to what is behind it, and keeps its text readable in light and dark mode. Work inside my existing design system. This is a change of surface, not of layout: keep my markup, spacing, radii, fonts, icons and copy.

0. Start from what exists
- Find every surface that sits over an image, a wallpaper, video or a busy background: cards, players, search bars, toolbars, menus, popovers, toasts. List them with their component and where they are.
- Find how the product switches between light and dark mode, and where its color tokens live. The glass goes into those tokens, not into each component.
- Leave surfaces over a plain background alone; glass over a flat color only looks gray.

1. The material as tokens
Build it as one set of variables per state, so a surface opts in by using them. The numbers are a starting point, for a UI at its normal size.
- Light glass, dark text (the default): tint white at 6–22% (by density, step 4); backdrop filter blur(2px) saturate(180%) brightness(1.06), so the color comes from behind and stays vivid instead of milky.
  Edge: inset 1.5px 1.5px 1px -1px white 95%, inset -1.5px -1.5px 1px -1px white 55%, inset 0 0 0 0.5px white 30%, 0 0 0 0.5px black 6%, 0 6px 24px black 8%.
  Inner light, on a layer inside the surface: a radial highlight from the top left (white 30% fading out by 55%), and soft inset glows just inside the rim, brighter at the top and left, a little shade at the bottom.
- Light mode over a dark area, light text: tint rgb(16 18 22) at 10–30%; filter blur(2px) saturate(170%), then brightness(0.85); edge: a faint inset white line on top and a 0.5px dark outline.
- Dark mode: tint rgb(20 20 24) at 16–38%; filter blur(2px) saturate(160%) brightness(0.8), which dims like a multiply with black instead of going muddy; the same edge and inner light at about a third of their strength, with a darker outline and shadow.
- Ink, one color in fixed steps, used for everything drawn on the glass:
  on light glass black 86% (titles, icons, times, progress), rgb(60 60 67) at 70% (secondary); mix-blend-mode multiply;
  on dark glass white 94%, rgb(235 235 245) at 64%; mix-blend-mode plus-lighter.
  Draw icons in the opaque color and fade the whole icon with opacity: a translucent color darkens where a shape's strokes and fills overlap.
- A highlighted row on light glass is a lighter layer of the glass: white 42% on hover, 76% when selected, with a white stroke. Never a gray wash.
- Register the numeric and color tokens with @property so a surface glides between states instead of jumping.

2. Apply it in four declarations
Each surface changes only these, and its markup stays as it is:
- background: the tint.
- backdrop-filter: the material's filter, then the rim lens (step 3) last, so the color steps fold into one pass and the bend stays crisp.
- box-shadow: the edge.
- color: the ink, with the blend mode on everything drawn inside.
Hover brightens the tint by about 14% instead of lifting a shadow.

3. The rim lens
- Build a displacement map for each surface: red is the sideways bend, green the vertical one, 128 is none. Only a rim bends; the middle stays flat.
- The rim is about 44px wide on a card (min(44px, the short side / 3.5), never under 4px). For a thick slab, a point d from the edge looks inward by 1.1 × rim × (1 - d / rim)^2.6: hard at the edge, where the scene folds back on itself, easing to nothing at the rim's inner edge.
- Draw the map for the same corner the CSS draws. If the surface uses corner-shape: superellipse(), follow that curve, not a circle, or the bend and the rim light miss each other at the corners.
- Put it in an SVG filter with feImage (the map) and feDisplacementMap (scale = 2 × the largest offset), and add url(#id) at the end of backdrop-filter.
- Split it into colors: three passes, red 15% further and blue 15% less, each kept to its channel with feColorMatrix and added back with screen blends. Check the corners of wide rims over busy backgrounds; lower the split where it turns into a haze.
- Only Chromium draws url() in backdrop-filter. Check CSS.supports('backdrop-filter', 'url(#a)') and skip Firefox, which parses it and draws nothing. Everywhere else the CSS-only glass stays.
- Wait for the map image to decode before pointing a surface at the filter, or it draws without its blur. Give every filter a unique id and its own <svg>. Build maps once per radius and rim width and reuse them; on resize, move the map, don't rebuild it.
- Skip the lens on surfaces under 32px, and on surfaces with will-change or their own compositing layer (menus, animated panels), where Chrome can draw the map instead of the bent backdrop.

4. Adapt to what is behind
- For each surface, sample the background under it at a 5 × 3 grid, drop the two darkest and two brightest points, and average. Luminance is (0.299 R + 0.587 G + 0.114 B) / 255; texture is the brightest point minus the darkest.
- Ink: in light mode, light text when the luminance is under 0.5. Keep the current ink within ±0.05 of the line so a surface never flickers at it. Dark mode is always light text. Neighbouring surfaces in one row share one decision.
- Density (0 thin, 1 dense) = 0.55 × how close the background is to the ink's own brightness + 0.7 × texture + 0.3 × chroma. It moves the tint between its thin and dense alpha.
- Saturation kept = 1 - 0.75 × chroma, at least 0.45, so a vivid background doesn't stain the glass.
- Sample again when the background, the theme or a surface's position changes, and remember the last ink so the next load opens in it.
- If the background is not an image you can read (live video, cross-origin content), pick the ink from the theme and use the dense tint.

5. Let people set the tint
- Add one setting for light mode and one for dark that scale the tint, from 0 to 1.5 (1 is the material as designed). Below 1 the brightness lift in the filter thins with it, so at 0 only the blur, the rim and the shadow are left.
- Each theme keeps its own value; switching themes glides to that theme's value.

6. Keep it accessible
- Check text contrast on the busiest and the darkest background the product allows, at the default tint; raise density, not the ink's opacity, until it passes.
- Respect prefers-reduced-transparency and forced colors: fall back to a solid surface in the same tint at full opacity.
- Keep focus rings, disabled states and error colors as they are; failures keep their red.

7. Deliver
- First list the surfaces you will change, which get the lens and the color split, and which you leave solid and why.
- Then add the tokens, the lens helper and the two settings, switch the surfaces over, and list every file you touched.
- Don't change layout, fonts, radii or copy. If a surface would need a new component to work as glass, stop and ask me first.