



010 Liquid Glass
Kính lỏng
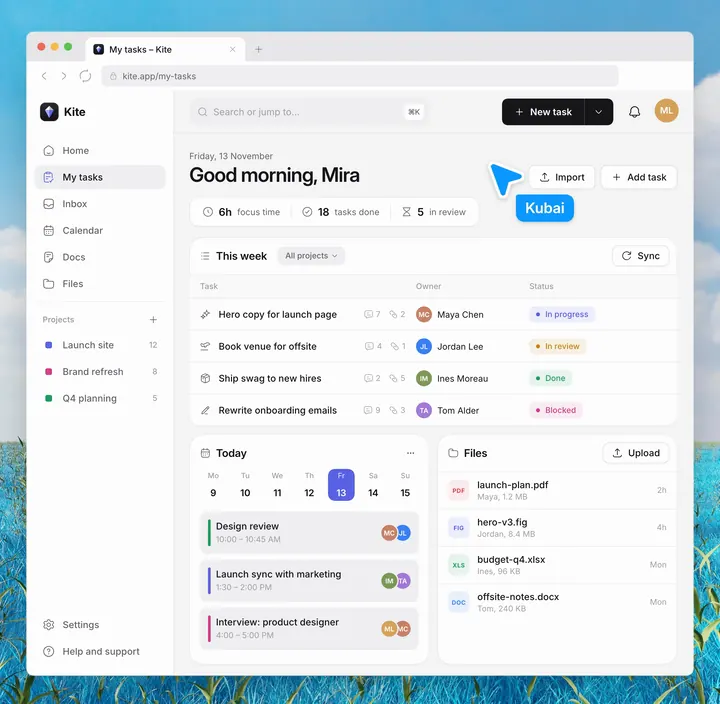
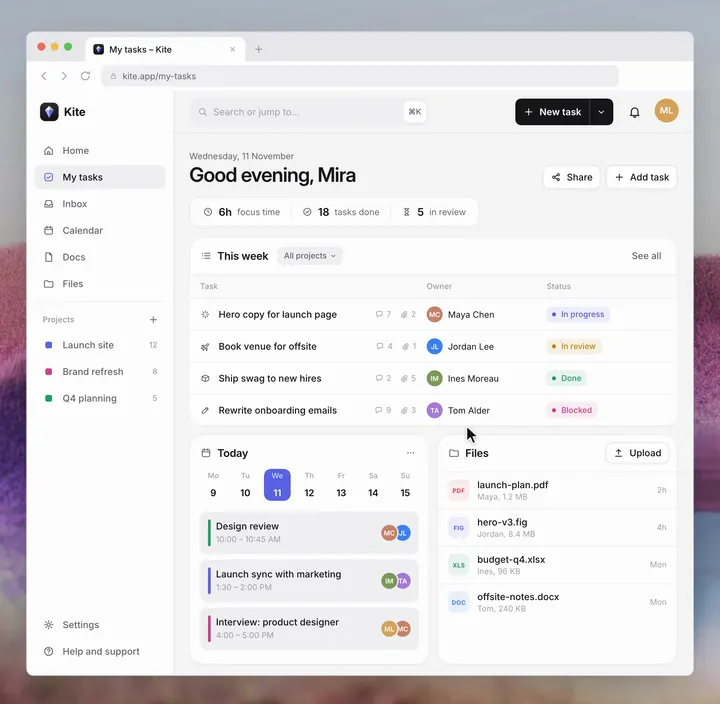
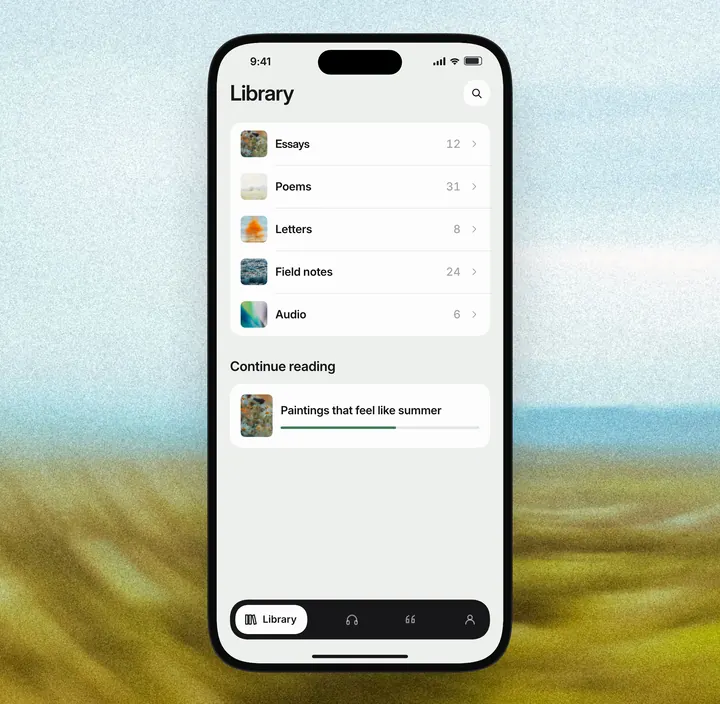
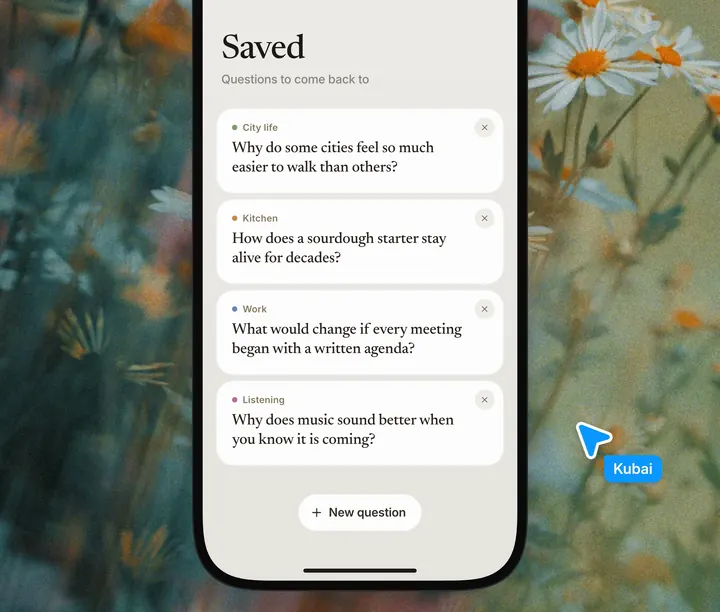
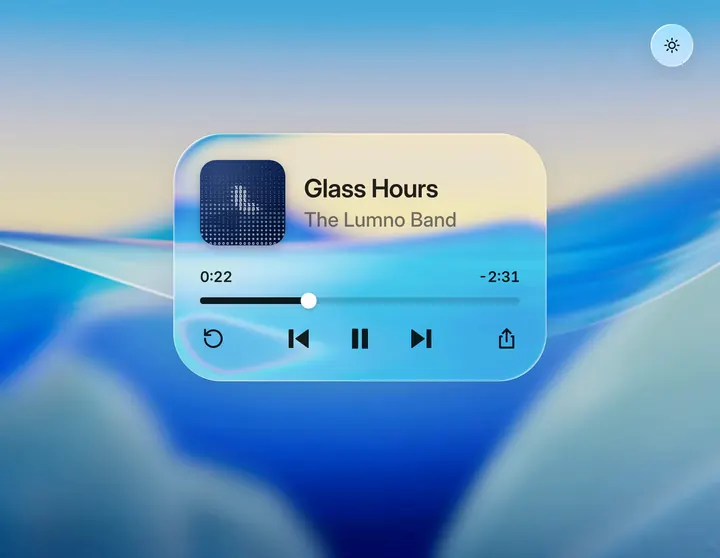
Sáu lớp của chất liệu kính lỏng, và cách điều chỉnh lớp phủ màu và màu chữ theo độ sáng tối của nền, phù hợp với thẻ và trình phát đặt trên ảnh hoặc video.
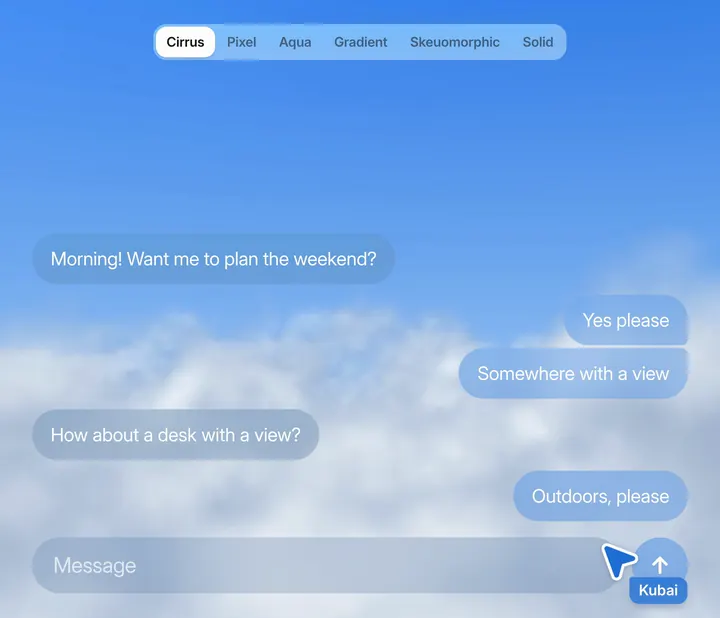
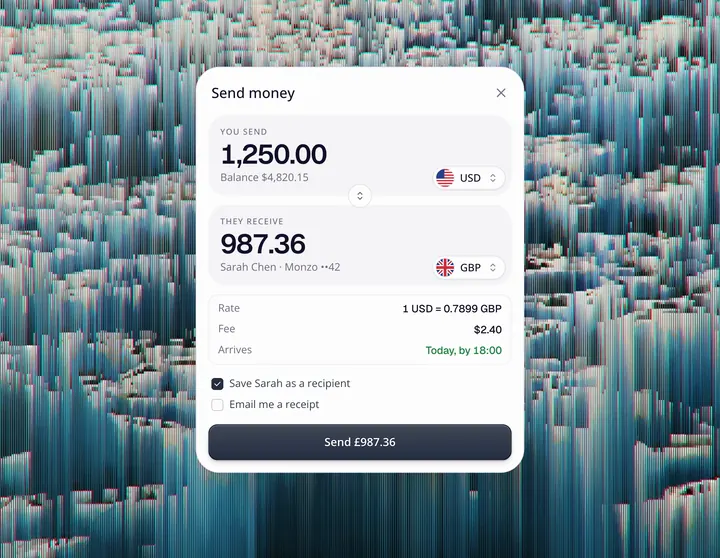
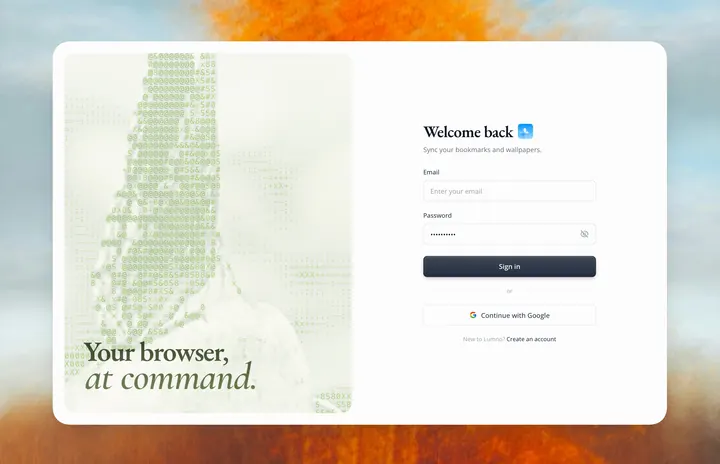
Kính mờ thông thường chỉ có nền bán trong suốt và làm mờ, khi nền phức tạp thì chữ khó đọc, trên nền tối còn bị xám đi; kính lỏng thêm khúc xạ ở viền và lớp phủ màu thay đổi theo nền, trông có độ dày, chữ cũng luôn rõ ràng. Chất liệu này được nghiên cứu khi phát triển Lumno, gồm sáu lớp chồng lên nhau, từ dưới lên trên lần lượt là:
- Bóng đổ: thể hiện khối của thẻ.
- Làm mờ và tăng sáng: làm mờ nền, đồng thời tăng độ bão hòa và độ sáng của nền để kính trong hơn. Kính sáng có độ bão hòa 180%, độ sáng 1.06; kính tối có độ bão hòa 160%, độ sáng 0.8.
- Khúc xạ ở viền: dùng bản đồ dịch chuyển SVG để đẩy phần nền ở một vòng quanh viền vào trong, càng gần mép thì dịch càng nhiều, phần giữa giữ phẳng; ánh sáng đỏ bị bẻ cong nhiều hơn ánh sáng xanh lam một chút, tạo ra tách màu. Độ rộng viền 44px, tách màu ±15%.
- Lớp phủ màu: một lớp màu bán trong suốt, độ trong suốt tự điều chỉnh theo độ phức tạp của nền, nền càng phức tạp thì lớp phủ càng đậm, chữ càng dễ đọc. Kính sáng dùng màu trắng 6%–22%, kính tối 16%–38%.
- Viền sáng: mỗi góc trên trái và dưới phải một đường, thêm một đường thụt vào trong, để tổng thể có độ dày hơn.
- Màu chữ: trên kính sáng dùng chế độ nhân (multiply), trên kính tối dùng chế độ phủ để làm sáng, chữ sẽ mang một chút màu của nền.
Ngoài ra, chất liệu đọc nhiều điểm lấy mẫu trên nền và tính độ sáng trung bình, dưới 0.5 thì tự động chuyển sang kiểu sáng. Kính lỏng phù hợp với ảnh bìa, video, hình nền và những khung hình có nhiều thay đổi về độ sáng tối hoặc màu sắc; trên nền đơn sắc, nó gần như không khác gì một khối màu bán trong suốt thông thường. Khi kiểm tra chữ, phải xem cả chỗ sáng nhất và chỗ tối nhất của nền.
Thông số
- Sáng
- Lớp phủ trắng 6%–22%; làm mờ 2px; độ bão hòa 180%; độ sáng 1.06
- Tối
- Lớp phủ rgb(20 20 24) 16%–38%; làm mờ 2px; độ bão hòa 160%; độ sáng 0.8
- Khúc xạ
- Độ rộng viền 44px; độ dịch ở mép 1.1 × độ rộng viền; tách màu ±15%
Tác giả đã phát hành chất liệu này thành công cụ mã nguồn mở Glasswork: màu phủ, độ mờ, khúc xạ viền, ánh sáng viền và màu chữ đều chỉnh được từng mục trên bảng điều khiển, xem thử trên nhiều hình nền, ảnh và video khác nhau, rồi sao chép kết quả dưới dạng CSS.
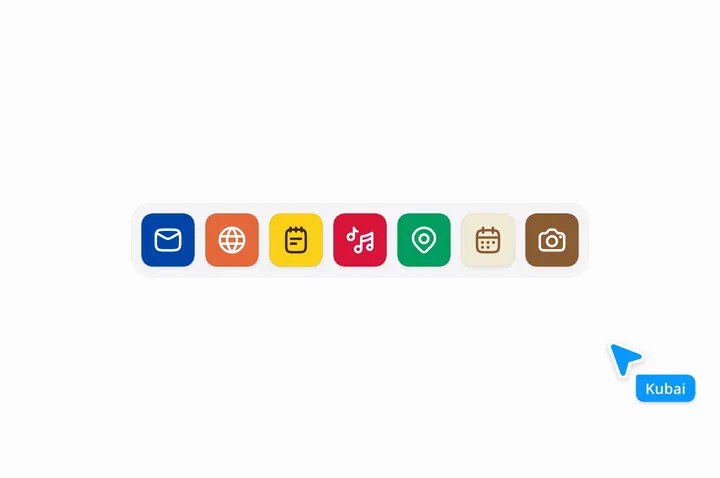
Prompt đi kèm sẽ liệt kê trước các thẻ, trình phát và ô tìm kiếm trong sản phẩm được đặt trên ảnh, video hoặc nền phức tạp, nêu rõ cái nào đổi thành kính, cái nào giữ nguyên; rồi ghi chất liệu vào color token, chế độ sáng và tối mỗi bên một bộ độ đậm lớp phủ, bố cục giữ nguyên.
Give the cards and panels in my product a liquid glass material: clear glass that takes its color from the scene behind it, reads as a thick slab at the rim, adapts to what is behind it, and keeps its text readable in light and dark mode. Work inside my existing design system. This is a change of surface, not of layout: keep my markup, spacing, radii, fonts, icons and copy.

0. Start from what exists
- Find every surface that sits over an image, a wallpaper, video or a busy background: cards, players, search bars, toolbars, menus, popovers, toasts. List them with their component and where they are.
- Find how the product switches between light and dark mode, and where its color tokens live. The glass goes into those tokens, not into each component.
- Leave surfaces over a plain background alone; glass over a flat color only looks gray.

1. The material as tokens
Build it as one set of variables per state, so a surface opts in by using them. The numbers are a starting point, for a UI at its normal size.
- Light glass, dark text (the default): tint white at 6–22% (by density, step 4); backdrop filter blur(2px) saturate(180%) brightness(1.06), so the color comes from behind and stays vivid instead of milky.
  Edge: inset 1.5px 1.5px 1px -1px white 95%, inset -1.5px -1.5px 1px -1px white 55%, inset 0 0 0 0.5px white 30%, 0 0 0 0.5px black 6%, 0 6px 24px black 8%.
  Inner light, on a layer inside the surface: a radial highlight from the top left (white 30% fading out by 55%), and soft inset glows just inside the rim, brighter at the top and left, a little shade at the bottom.
- Light mode over a dark area, light text: tint rgb(16 18 22) at 10–30%; filter blur(2px) saturate(170%), then brightness(0.85); edge: a faint inset white line on top and a 0.5px dark outline.
- Dark mode: tint rgb(20 20 24) at 16–38%; filter blur(2px) saturate(160%) brightness(0.8), which dims like a multiply with black instead of going muddy; the same edge and inner light at about a third of their strength, with a darker outline and shadow.
- Ink, one color in fixed steps, used for everything drawn on the glass:
  on light glass black 86% (titles, icons, times, progress), rgb(60 60 67) at 70% (secondary); mix-blend-mode multiply;
  on dark glass white 94%, rgb(235 235 245) at 64%; mix-blend-mode plus-lighter.
  Draw icons in the opaque color and fade the whole icon with opacity: a translucent color darkens where a shape's strokes and fills overlap.
- A highlighted row on light glass is a lighter layer of the glass: white 42% on hover, 76% when selected, with a white stroke. Never a gray wash.
- Register the numeric and color tokens with @property so a surface glides between states instead of jumping.

2. Apply it in four declarations
Each surface changes only these, and its markup stays as it is:
- background: the tint.
- backdrop-filter: the material's filter, then the rim lens (step 3) last, so the color steps fold into one pass and the bend stays crisp.
- box-shadow: the edge.
- color: the ink, with the blend mode on everything drawn inside.
Hover brightens the tint by about 14% instead of lifting a shadow.

3. The rim lens
- Build a displacement map for each surface: red is the sideways bend, green the vertical one, 128 is none. Only a rim bends; the middle stays flat.
- The rim is about 44px wide on a card (min(44px, the short side / 3.5), never under 4px). For a thick slab, a point d from the edge looks inward by 1.1 × rim × (1 - d / rim)^2.6: hard at the edge, where the scene folds back on itself, easing to nothing at the rim's inner edge.
- Draw the map for the same corner the CSS draws. If the surface uses corner-shape: superellipse(), follow that curve, not a circle, or the bend and the rim light miss each other at the corners.
- Put it in an SVG filter with feImage (the map) and feDisplacementMap (scale = 2 × the largest offset), and add url(#id) at the end of backdrop-filter.
- Split it into colors: three passes, red 15% further and blue 15% less, each kept to its channel with feColorMatrix and added back with screen blends. Check the corners of wide rims over busy backgrounds; lower the split where it turns into a haze.
- Only Chromium draws url() in backdrop-filter. Check CSS.supports('backdrop-filter', 'url(#a)') and skip Firefox, which parses it and draws nothing. Everywhere else the CSS-only glass stays.
- Wait for the map image to decode before pointing a surface at the filter, or it draws without its blur. Give every filter a unique id and its own <svg>. Build maps once per radius and rim width and reuse them; on resize, move the map, don't rebuild it.
- Skip the lens on surfaces under 32px, and on surfaces with will-change or their own compositing layer (menus, animated panels), where Chrome can draw the map instead of the bent backdrop.

4. Adapt to what is behind
- For each surface, sample the background under it at a 5 × 3 grid, drop the two darkest and two brightest points, and average. Luminance is (0.299 R + 0.587 G + 0.114 B) / 255; texture is the brightest point minus the darkest.
- Ink: in light mode, light text when the luminance is under 0.5. Keep the current ink within ±0.05 of the line so a surface never flickers at it. Dark mode is always light text. Neighbouring surfaces in one row share one decision.
- Density (0 thin, 1 dense) = 0.55 × how close the background is to the ink's own brightness + 0.7 × texture + 0.3 × chroma. It moves the tint between its thin and dense alpha.
- Saturation kept = 1 - 0.75 × chroma, at least 0.45, so a vivid background doesn't stain the glass.
- Sample again when the background, the theme or a surface's position changes, and remember the last ink so the next load opens in it.
- If the background is not an image you can read (live video, cross-origin content), pick the ink from the theme and use the dense tint.

5. Let people set the tint
- Add one setting for light mode and one for dark that scale the tint, from 0 to 1.5 (1 is the material as designed). Below 1 the brightness lift in the filter thins with it, so at 0 only the blur, the rim and the shadow are left.
- Each theme keeps its own value; switching themes glides to that theme's value.

6. Keep it accessible
- Check text contrast on the busiest and the darkest background the product allows, at the default tint; raise density, not the ink's opacity, until it passes.
- Respect prefers-reduced-transparency and forced colors: fall back to a solid surface in the same tint at full opacity.
- Keep focus rings, disabled states and error colors as they are; failures keep their red.

7. Deliver
- First list the surfaces you will change, which get the lens and the color split, and which you leave solid and why.
- Then add the tokens, the lens helper and the two settings, switch the surfaces over, and list every file you touched.
- Don't change layout, fonts, radii or copy. If a surface would need a new component to work as glass, stop and ask me first.