



010 Liquid Glass
Verre liquide
Les six couches du verre liquide et l’ajustement de la teinte et du texte selon la luminosité du fond, pour les cartes et lecteurs posés sur une image ou une vidéo.
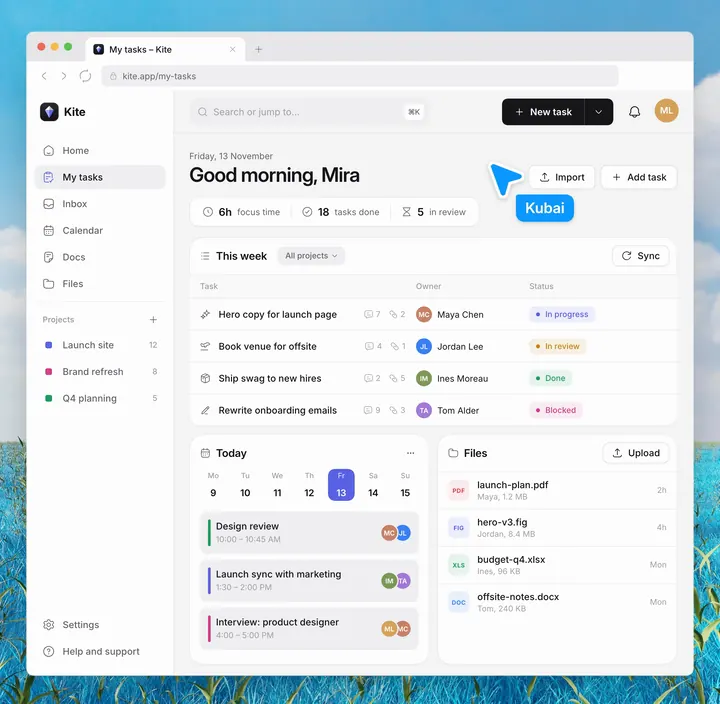
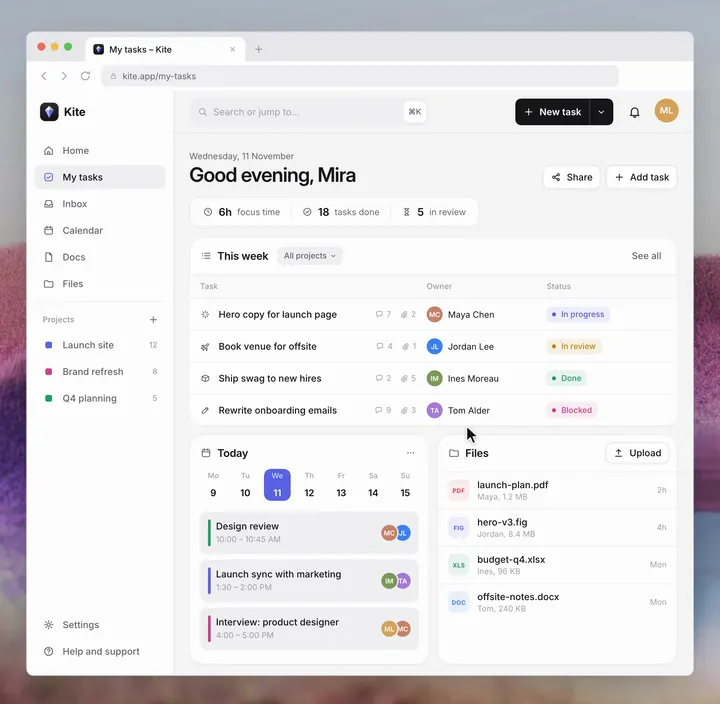
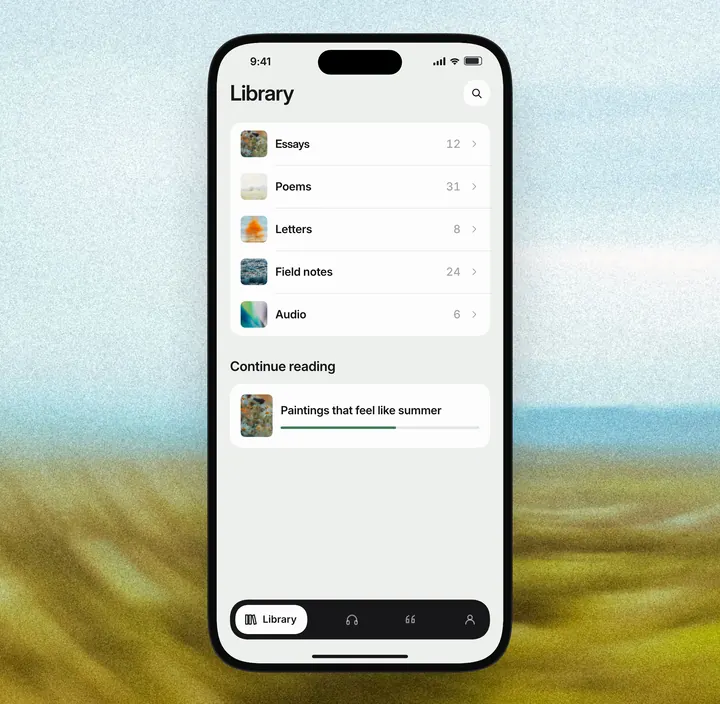
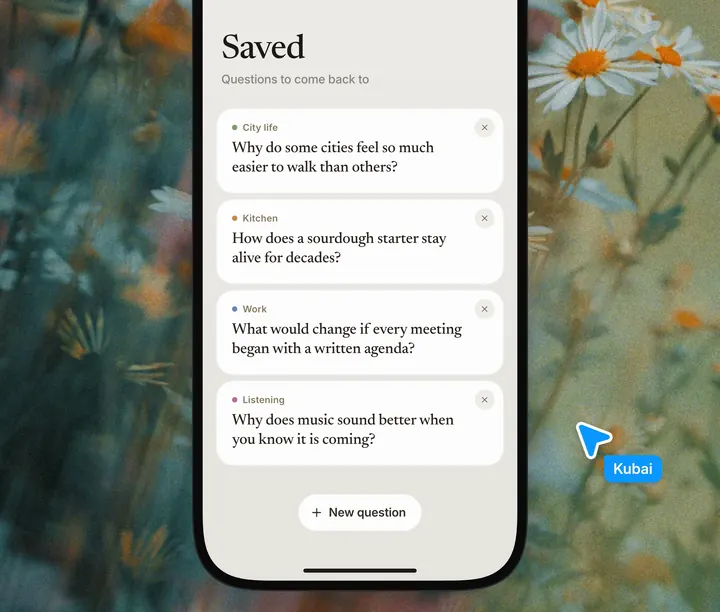
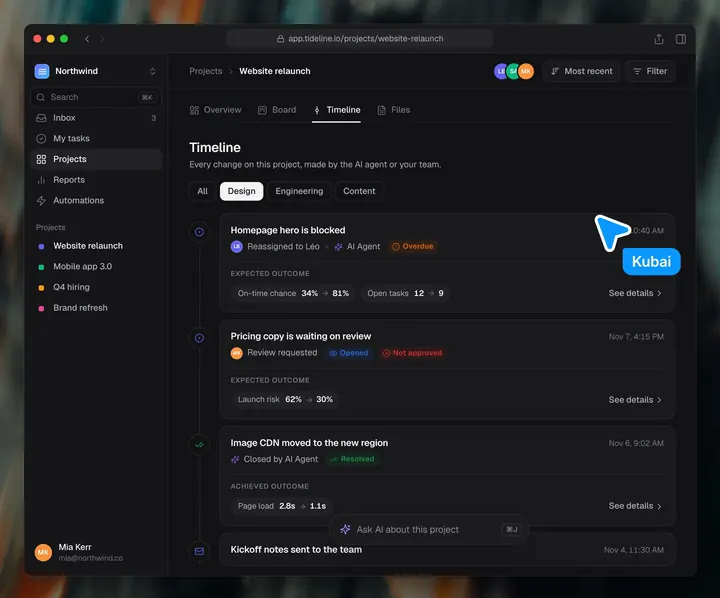
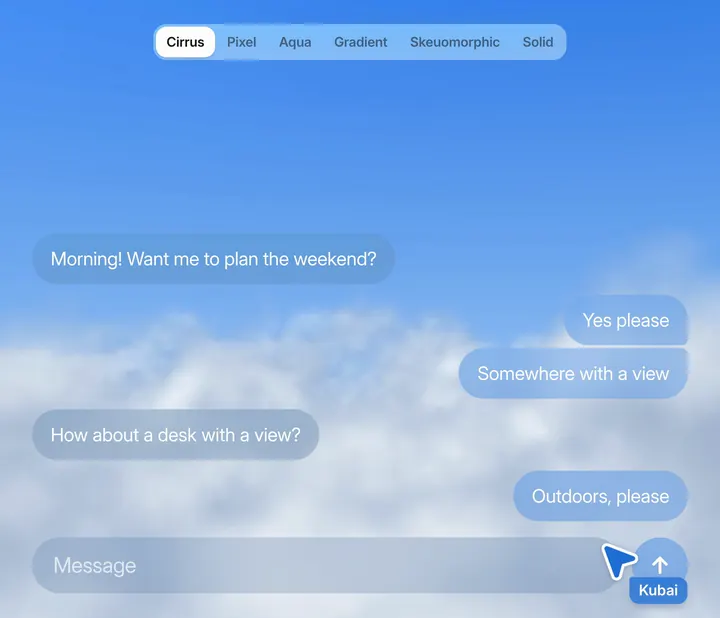
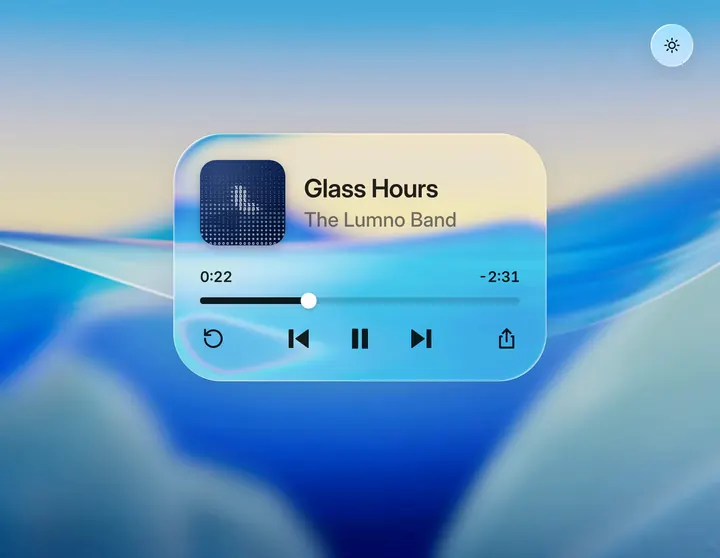
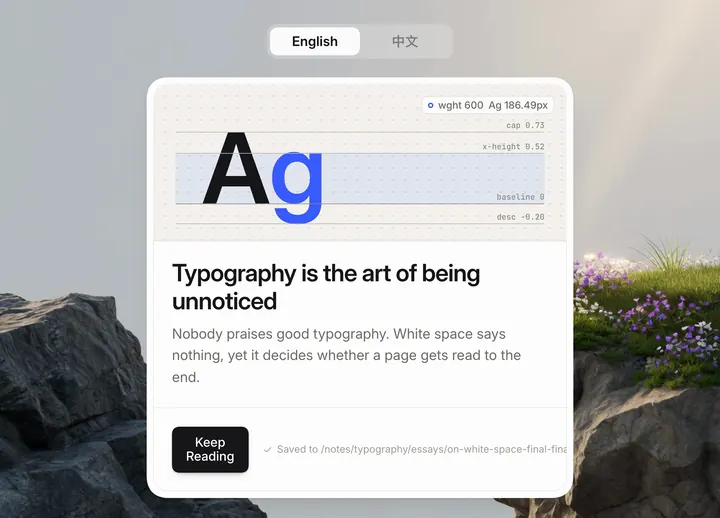
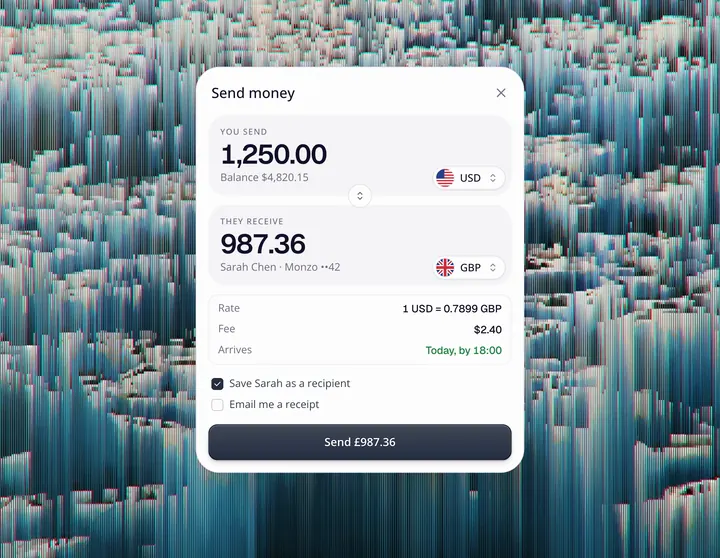
Un verre dépoli ordinaire se limite à un fond semi-transparent et à un flou : sur un fond chargé, le texte devient difficile à lire, et sur un fond sombre, le verre tire vers le gris. Le verre liquide ajoute une réfraction sur les bords et une teinte qui varie avec le fond : il paraît épais et le texte reste toujours lisible. Cette matière a été mise au point pendant le développement de Lumno ; elle se compose de six couches, de bas en haut :
- Ombre : donne du volume à la carte.
- Flou et éclaircissement : floute le fond tout en augmentant sa saturation et sa luminosité, pour un verre plus limpide. Verre clair : saturation 180 %, luminosité 1.06 ; verre sombre : saturation 160 %, luminosité 0.8.
- Réfraction des bords : une carte de déplacement SVG décale vers l’intérieur le fond sur une bande le long du bord ; plus on est près du bord, plus le décalage est grand, et le centre reste plat. Le rouge est un peu plus dévié que le bleu, ce qui sépare légèrement les couleurs. Largeur du bord 44px, séparation des couleurs ±15 %.
- Teinte : une couche de couleur semi-transparente dont l’opacité s’ajuste automatiquement à la complexité du fond : plus le fond est chargé, plus la teinte est dense et plus le texte est facile à lire. Verre clair : blanc à 6 %–22 % ; verre sombre : 16 %–38 %.
- Liseré lumineux : un trait en haut à gauche, un autre en bas à droite, plus un troisième en retrait vers l’intérieur, pour donner plus d’épaisseur à l’ensemble.
- Couleur du texte : mode produit sur le verre clair, incrustation éclaircissante sur le verre sombre ; le texte prend un peu de la couleur du fond.
Par ailleurs, la matière lit plusieurs points d’échantillonnage sur le fond et calcule leur luminosité moyenne ; en dessous de 0.5, elle bascule automatiquement vers la version claire. Le verre liquide convient aux images riches en variations de luminosité ou de couleur, comme les pochettes, les vidéos ou les fonds d’écran ; sur un fond uni, il ne se distingue presque pas d’un simple aplat semi-transparent. Pour vérifier le texte, regardez à la fois l’endroit le plus clair et l’endroit le plus sombre du fond.
Paramètres
- Clair
- Teinte blanche 6%–22% ; flou 2px ; saturation 180% ; luminosité 1.06
- Sombre
- Teinte rgb(20 20 24) 16%–38% ; flou 2px ; saturation 160% ; luminosité 0.8
- Réfraction
- Largeur du bord 44px ; décalage au bord 1.1 × largeur du bord ; séparation des couleurs ±15%
J’ai publié ce matériau sous la forme d’un outil open source, Glasswork : la teinte, le flou, la réfraction du bord, la lumière du bord et la couleur du texte se règlent un par un dans un panneau, se vérifient sur différents fonds d’écran, photos et vidéos, et le résultat se copie en CSS.
Le prompt associé liste d’abord les cartes, lecteurs et champs de recherche du produit posés sur des images, des vidéos ou des fonds complexes, et indique lesquels passer en verre et lesquels garder tels quels ; il ajoute ensuite la matière aux tokens de couleur, avec une densité de teinte pour le mode clair et une pour le mode sombre, sans changer la mise en page.
Give the cards and panels in my product a liquid glass material: clear glass that takes its color from the scene behind it, reads as a thick slab at the rim, adapts to what is behind it, and keeps its text readable in light and dark mode. Work inside my existing design system. This is a change of surface, not of layout: keep my markup, spacing, radii, fonts, icons and copy.

0. Start from what exists
- Find every surface that sits over an image, a wallpaper, video or a busy background: cards, players, search bars, toolbars, menus, popovers, toasts. List them with their component and where they are.
- Find how the product switches between light and dark mode, and where its color tokens live. The glass goes into those tokens, not into each component.
- Leave surfaces over a plain background alone; glass over a flat color only looks gray.

1. The material as tokens
Build it as one set of variables per state, so a surface opts in by using them. The numbers are a starting point, for a UI at its normal size.
- Light glass, dark text (the default): tint white at 6–22% (by density, step 4); backdrop filter blur(2px) saturate(180%) brightness(1.06), so the color comes from behind and stays vivid instead of milky.
  Edge: inset 1.5px 1.5px 1px -1px white 95%, inset -1.5px -1.5px 1px -1px white 55%, inset 0 0 0 0.5px white 30%, 0 0 0 0.5px black 6%, 0 6px 24px black 8%.
  Inner light, on a layer inside the surface: a radial highlight from the top left (white 30% fading out by 55%), and soft inset glows just inside the rim, brighter at the top and left, a little shade at the bottom.
- Light mode over a dark area, light text: tint rgb(16 18 22) at 10–30%; filter blur(2px) saturate(170%), then brightness(0.85); edge: a faint inset white line on top and a 0.5px dark outline.
- Dark mode: tint rgb(20 20 24) at 16–38%; filter blur(2px) saturate(160%) brightness(0.8), which dims like a multiply with black instead of going muddy; the same edge and inner light at about a third of their strength, with a darker outline and shadow.
- Ink, one color in fixed steps, used for everything drawn on the glass:
  on light glass black 86% (titles, icons, times, progress), rgb(60 60 67) at 70% (secondary); mix-blend-mode multiply;
  on dark glass white 94%, rgb(235 235 245) at 64%; mix-blend-mode plus-lighter.
  Draw icons in the opaque color and fade the whole icon with opacity: a translucent color darkens where a shape's strokes and fills overlap.
- A highlighted row on light glass is a lighter layer of the glass: white 42% on hover, 76% when selected, with a white stroke. Never a gray wash.
- Register the numeric and color tokens with @property so a surface glides between states instead of jumping.

2. Apply it in four declarations
Each surface changes only these, and its markup stays as it is:
- background: the tint.
- backdrop-filter: the material's filter, then the rim lens (step 3) last, so the color steps fold into one pass and the bend stays crisp.
- box-shadow: the edge.
- color: the ink, with the blend mode on everything drawn inside.
Hover brightens the tint by about 14% instead of lifting a shadow.

3. The rim lens
- Build a displacement map for each surface: red is the sideways bend, green the vertical one, 128 is none. Only a rim bends; the middle stays flat.
- The rim is about 44px wide on a card (min(44px, the short side / 3.5), never under 4px). For a thick slab, a point d from the edge looks inward by 1.1 × rim × (1 - d / rim)^2.6: hard at the edge, where the scene folds back on itself, easing to nothing at the rim's inner edge.
- Draw the map for the same corner the CSS draws. If the surface uses corner-shape: superellipse(), follow that curve, not a circle, or the bend and the rim light miss each other at the corners.
- Put it in an SVG filter with feImage (the map) and feDisplacementMap (scale = 2 × the largest offset), and add url(#id) at the end of backdrop-filter.
- Split it into colors: three passes, red 15% further and blue 15% less, each kept to its channel with feColorMatrix and added back with screen blends. Check the corners of wide rims over busy backgrounds; lower the split where it turns into a haze.
- Only Chromium draws url() in backdrop-filter. Check CSS.supports('backdrop-filter', 'url(#a)') and skip Firefox, which parses it and draws nothing. Everywhere else the CSS-only glass stays.
- Wait for the map image to decode before pointing a surface at the filter, or it draws without its blur. Give every filter a unique id and its own <svg>. Build maps once per radius and rim width and reuse them; on resize, move the map, don't rebuild it.
- Skip the lens on surfaces under 32px, and on surfaces with will-change or their own compositing layer (menus, animated panels), where Chrome can draw the map instead of the bent backdrop.

4. Adapt to what is behind
- For each surface, sample the background under it at a 5 × 3 grid, drop the two darkest and two brightest points, and average. Luminance is (0.299 R + 0.587 G + 0.114 B) / 255; texture is the brightest point minus the darkest.
- Ink: in light mode, light text when the luminance is under 0.5. Keep the current ink within ±0.05 of the line so a surface never flickers at it. Dark mode is always light text. Neighbouring surfaces in one row share one decision.
- Density (0 thin, 1 dense) = 0.55 × how close the background is to the ink's own brightness + 0.7 × texture + 0.3 × chroma. It moves the tint between its thin and dense alpha.
- Saturation kept = 1 - 0.75 × chroma, at least 0.45, so a vivid background doesn't stain the glass.
- Sample again when the background, the theme or a surface's position changes, and remember the last ink so the next load opens in it.
- If the background is not an image you can read (live video, cross-origin content), pick the ink from the theme and use the dense tint.

5. Let people set the tint
- Add one setting for light mode and one for dark that scale the tint, from 0 to 1.5 (1 is the material as designed). Below 1 the brightness lift in the filter thins with it, so at 0 only the blur, the rim and the shadow are left.
- Each theme keeps its own value; switching themes glides to that theme's value.

6. Keep it accessible
- Check text contrast on the busiest and the darkest background the product allows, at the default tint; raise density, not the ink's opacity, until it passes.
- Respect prefers-reduced-transparency and forced colors: fall back to a solid surface in the same tint at full opacity.
- Keep focus rings, disabled states and error colors as they are; failures keep their red.

7. Deliver
- First list the surfaces you will change, which get the lens and the color split, and which you leave solid and why.
- Then add the tokens, the lens helper and the two settings, switch the surfaces over, and list every file you touched.
- Don't change layout, fonts, radii or copy. If a surface would need a new component to work as glass, stop and ask me first.